Videos
Check out our tutorial video series.
Why testing email campaigns is important for quality assurance and how to do it with MailSlurp
Are you a quality assurance tester or a software developer looking to test your email and SMS messaging workflows? Look no further! In this article, we will guide you step by step on how to send. Whether you are a beginner or an experienced user, you'll find all the information you need to ensure your emails are thoroughly tested before sending them out to your subscribers. So let's dive in and learn about the process of sending a test email in Mailchimp!
If you're a quality assurance tester or a software developer looking to test email workflows, Mailchimp is a popular tool that can help you with that. In this blog post, we'll walk you through the steps to send a test email in Mailchimp. So let's get started!
To send a test email, you need to first log in to your Mailchimp account. If you don't already have one, you can easily create a free account on their website.
Once you're logged in, you'll be taken to the Mailchimp dashboard. From there, you can either create a new campaign or select an existing one. To create a new campaign, click on the "Create" button and choose the type of campaign you want to send (e.g., regular email, automated email, etc.). If you already have a campaign set up, simply select it from the list.
After selecting or creating a campaign, you'll be taken to the email editor. Here, you can design your email by adding text, images, buttons, and other elements. Mailchimp provides a user-friendly drag-and-drop editor that makes it easy to create professional-looking emails without any coding knowledge.
View the email in your email provider.
Testing Mailchimp campaigns is important for ensuring that your emails are delivered correctly and appear as intended to your subscribers. By sending test emails, you can catch any formatting or design issues, check for broken links, and ensure that your email content is displaying properly across different devices and email clients. Additionally, testing allows you to verify that any personalization or dynamic content is working correctly, and that your email is compliant with spam filters. By thoroughly testing your Mailchimp campaigns, you can increase the chances of your emails being successful and engaging for your subscribers.
A mailcatcher is a fake email address that is used to catch emails sent during testing or development, so that they are not sent to real customers. This is important for several reasons.
Firstly, using a mailcatcher ensures that any test emails or campaigns you send will not accidentally be delivered to your subscribers. This is especially crucial during the testing phase when you may be making frequent changes and sending multiple test emails. By using a mailcatcher, you can prevent any unintended emails from being sent to your actual customers, avoiding any confusion or potential negative impact on your brand reputation.
Secondly, a mailcatcher allows you to closely monitor and analyze the content and format of your test emails. Since the mailcatcher captures all the test emails sent, you can review them to ensure that the email design, layout, and personalization features are working correctly. You can also check for any errors or issues such as broken links, incorrect rendering on different devices or email clients, and any spam filter triggers.
Additionally, using a mailcatcher enables you to easily share and collaborate on test emails with your team or stakeholders. Instead of sending test emails to individual email addresses, you can simply provide them with the mailcatcher address. This makes it convenient for everyone involved to access and review the test emails, provide feedback, and make any necessary improvements before sending the final campaign to your subscribers. MailSlurp provides free mail traps to capture outbound mail.
To use MailSlurp to generate a disposable email address that can receive the MailChimp email, follow these steps:
1. Sign up for a MailSlurp account: Go to the MailSlurp website and create a free account if you don't already have one.
2. Generate a new email address: Once you're logged in, you can generate a new email address by clicking on the "New Email Address" button. This will provide you with a unique email address that you can use to receive the test email.
3. Copy the generated email address: Copy the generated email address to your clipboard. This address will be used in the next steps.
4. Configure MailChimp: Go back to your MailChimp account and navigate to the campaign you want to test. In the recipient field, enter the email address you generated with MailSlurp.
5. Send the test email: Once you have configured your campaign, click on the send test email button. MailChimp will send the email to the email address you provided.
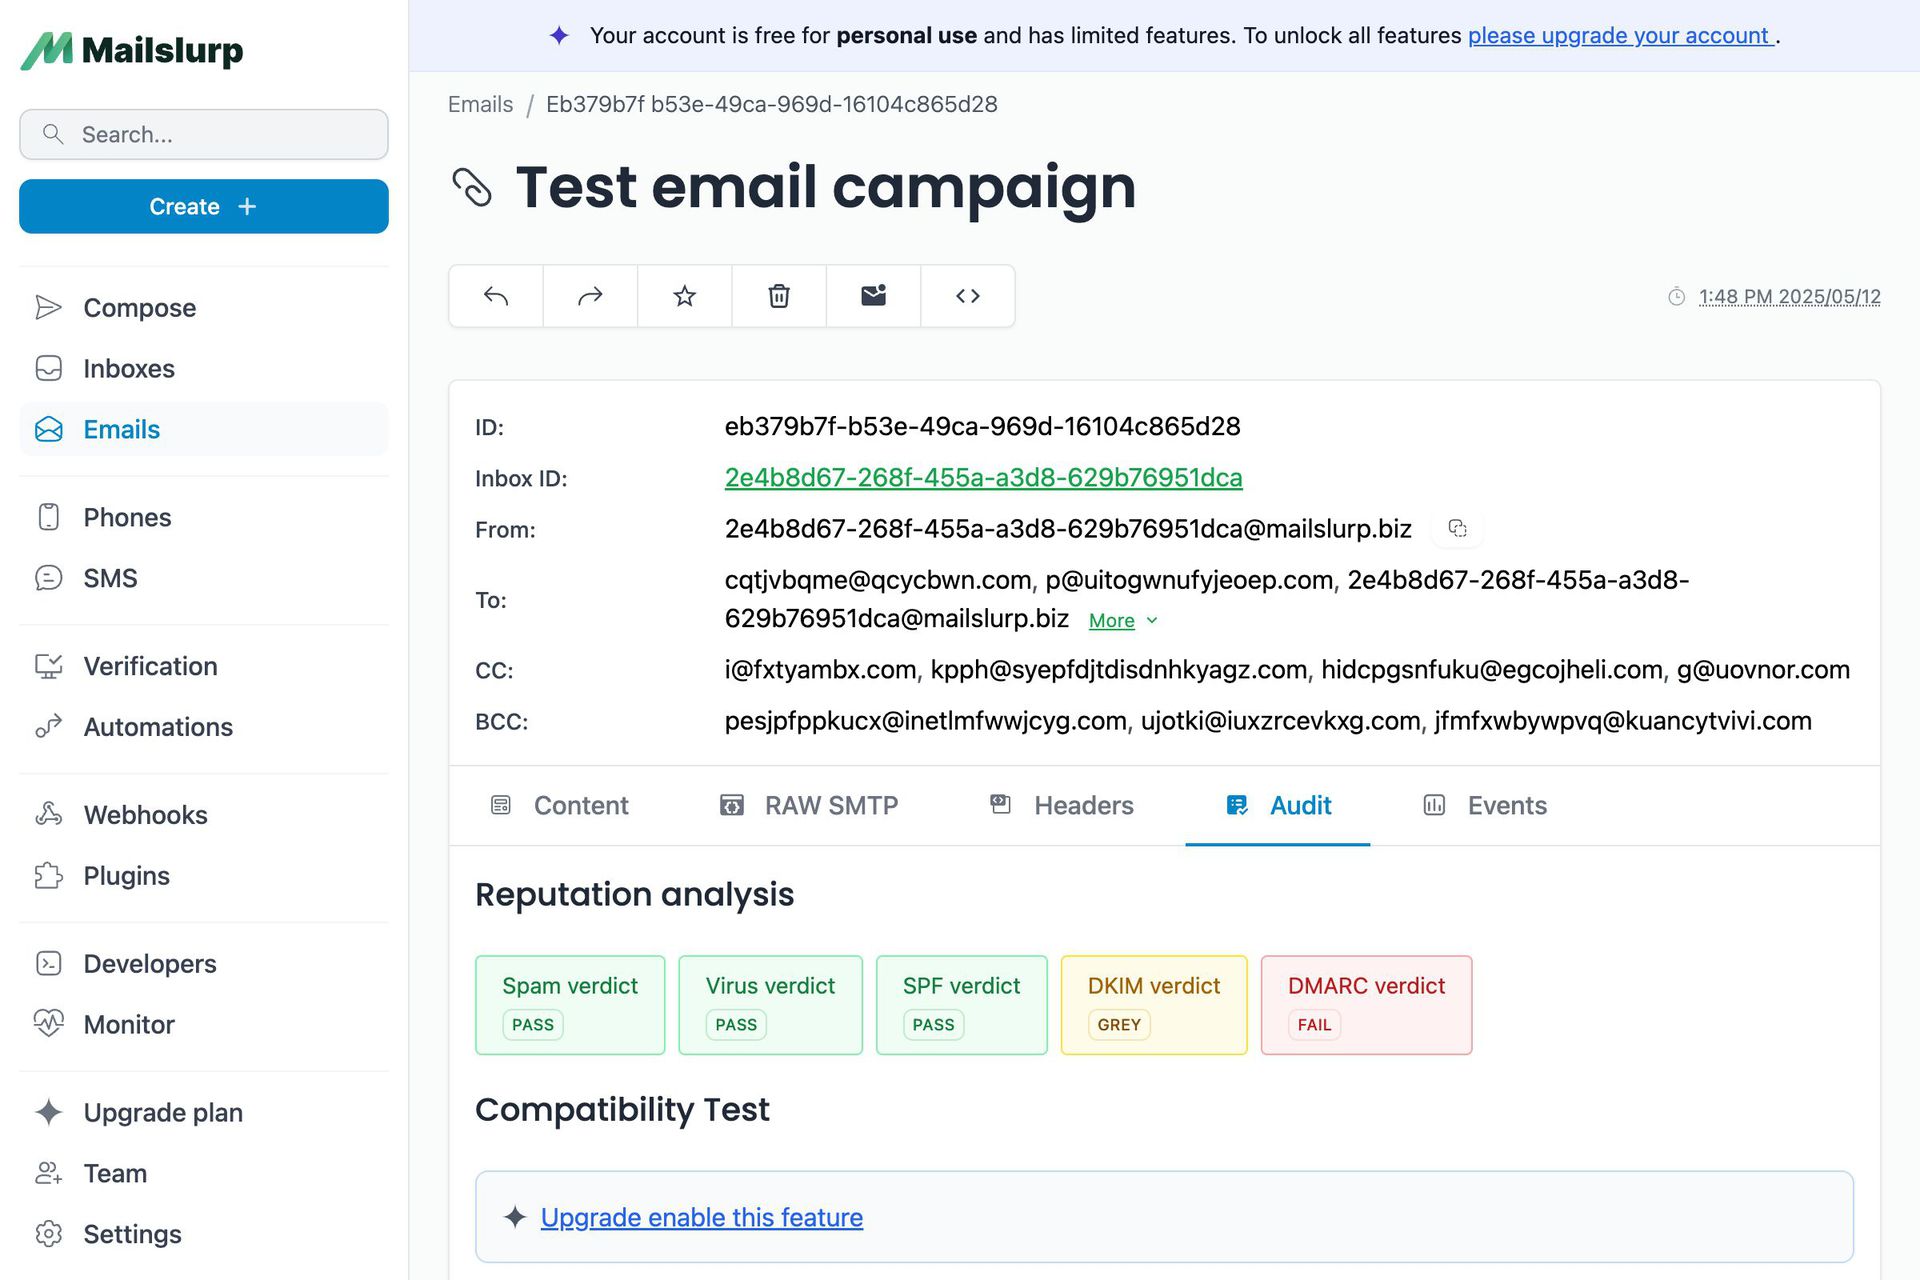
6. Check the email in MailSlurp: Go back to your MailSlurp account and navigate to the inbox of the email address you generated. You should see the test email from MailChimp in your inbox.
By following these steps, you can easily generate a disposable email address with MailSlurp that can receive the test email from MailChimp. This allows you to verify the email content and formatting using a unique throwaway address.
Check out our tutorial video series.
Email and SMS guides for automation and testing.
View github project code for multiple languages.
Latest posts from the MailSlurp team.
Test, build, and automate messaging with a free MailSlurp account.
