Videos
Check out our tutorial video series.
Sending emails is a core functionality for many web applications, whether it's for user authentication, marketing campaigns, or simply updating users on their accounts. Typically, email design and integration into applications can be a tedious process. With the @react-email/render library and Nodemailer, developers can now efficiently design and send their emails using the React framework.
In this blog post, we'll guide you through the process of crafting an email using React Email and sending it via Nodemailer.
To get started, you'll need to ensure that your environment has Node.js and npm installed. If you have those in place, it's time to get the necessary packages. Here's how to install them:
The next step is to design your email template. Using React for this task makes the process very flexible and easy.
Create a file named . This is where you'll be designing your email. For demonstration purposes, we'll create a simple email with a button linking to a website.
In the snippet above, we're using the and components from the @react-email library to structure our email. React's prop-driven approach lets us easily customize the email content.
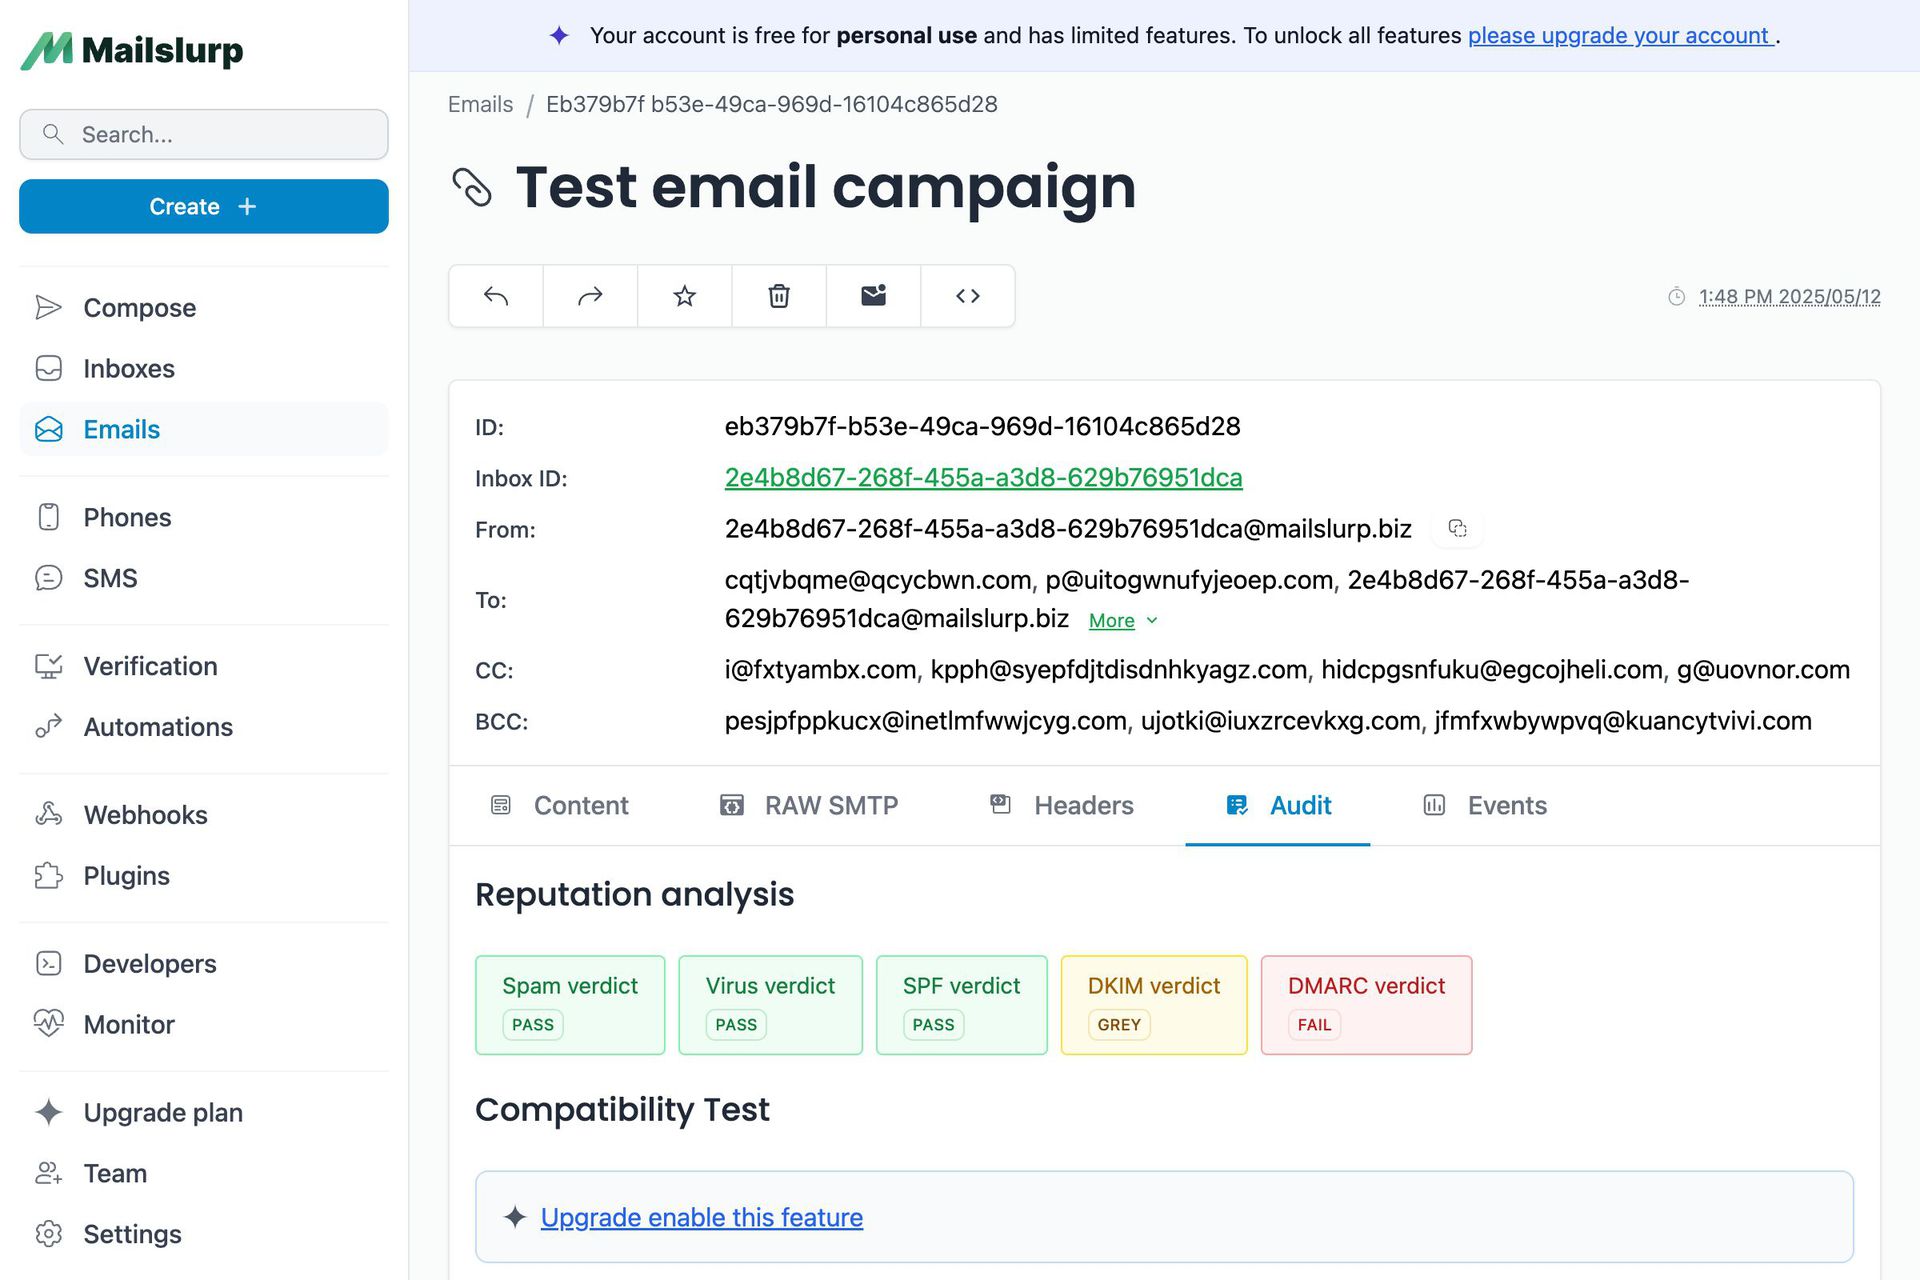
Now, it's time to breathe life into our email and send it to a recipient. We will use the free email testing platform MailSlurp to send and receive the email.
In your main file, start by importing the necessary modules:
Then we can create an inbox to send from using MailSlurp:
You can set up the email transporter with Nodemailer to point to our MailSlurp server as shown below:
Next, convert the React email template to an HTML string using the method from @react-email/render:
Lastly, configure your email's sender, receiver, and subject details. With Nodemailer's function, you can then send off your beautiful email:
You can receive email sent by react email using MailSlurp's wait functions:
Wrap Up
React Email, combined with Nodemailer, offers a powerful way for developers to design and send emails using familiar React concepts. This combination allows for dynamic content, modular design, and efficient email sending in a single, cohesive workflow. Next time you need to implement email functionality in your application, consider giving this duo a try. Happy coding!
Check out our tutorial video series.
Email and SMS guides for automation and testing.
View github project code for multiple languages.
Latest posts from the MailSlurp team.
Test, build, and automate messaging with a free MailSlurp account.
