Videos
Check out our tutorial video series.
How to fetch and view emails with mail clients, code, or tests. Download attachments and view HTML previews using webhooks, REST, or SMTP.

Email is an asynchronous technology meaning email delivery times are inherently unpredictable. MailSlurp was built to solve this problem. Here are some examples of fetching emails using the Javascript SDK - the same methods are available in all languages.
Emails are received by inboxes and stored in the database. You can fetch existing emails from an inbox or you can use wait and match methods to wait for an expected number of emails to arrive in an inbox that match given conditions such as subject line, recipients etc. In addition one can also use webhooks to recieve emails via HTTP POST to your server.
Emails are marked as when they are received and marked as when they are opened in the dashboard or requested directly by the API. To override this behaviour see the set email seen guide.
If you are having issues receiving emails please see the inbox not receiving support page.
To recap there are 3 main ways to receive emails with MailSlurp:
All three methods can be managed in the MailSlurp dashboard, REST API, or using an SDK client. Let us cover these methods now.
If you are not expecting new emails you can fetch the existing emails in an inbox directly using the inbox's ID and the EmailControllerAPI methods. If you are expecting an email to arrive use the wait for methods or an email webhook.
Email responses contain a preview of an email.
To receive the full email use the email ID with the getEmail method.
The full email content is available on the property.
MailSlurp recommends using methods over as the emails you expect may not have arrived when you call MailSlurp. solves this problem. See the WaitForControllerApi for documentation.
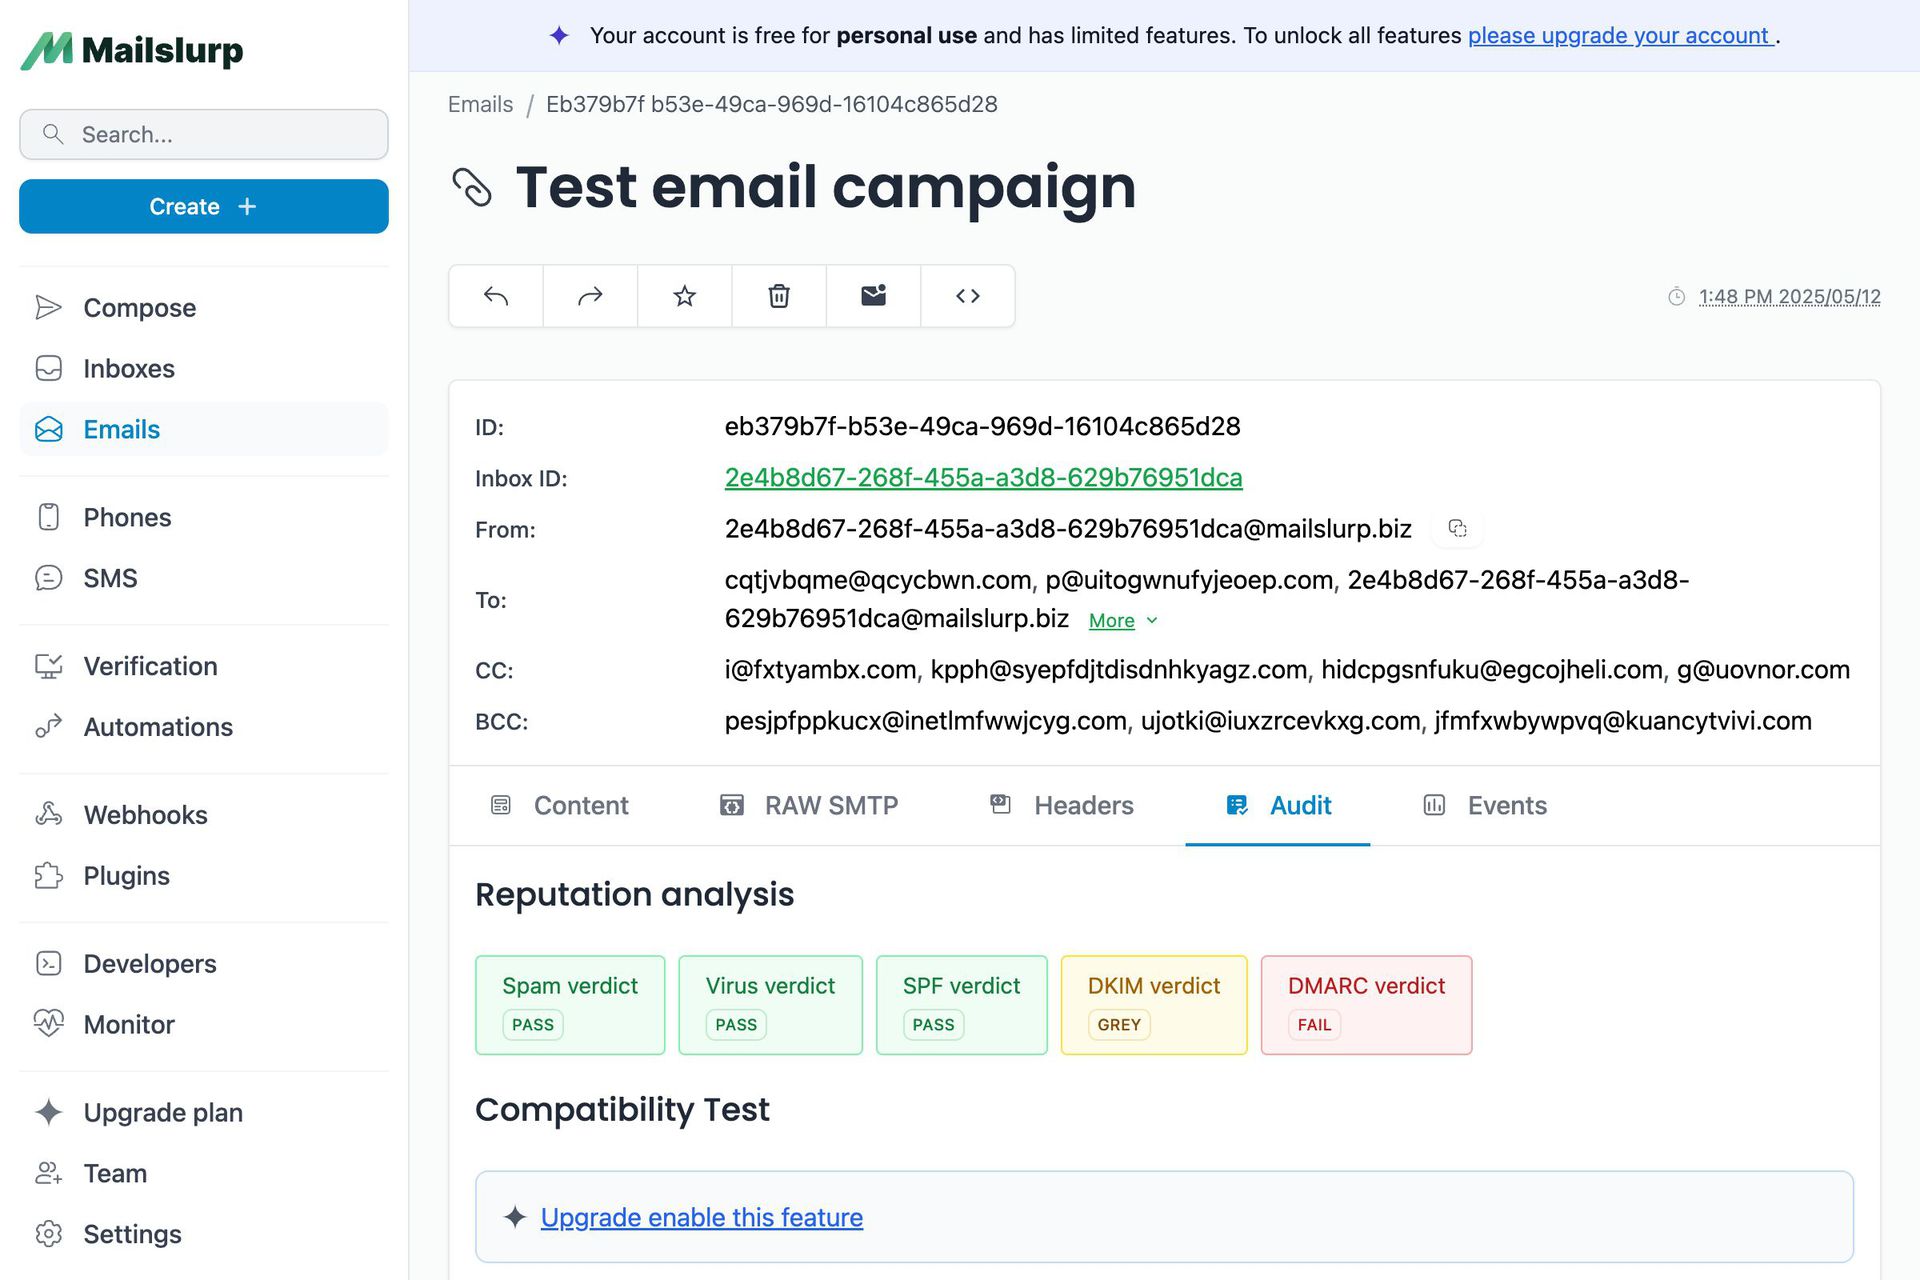
You can view emails and attachments online using the dashboard or in code.

Given a known email ID you can fetch the email content in various others ways.
Fetch the raw body using the method.
If you wish to parse the email content and return an array of text use the following methods:
You can also query HTML content using common CSS selectors.
For more email body methods see the email content guide or the wait for matching emails guide
What about emails that may not have arrived yet? MailSlurp methods allow you to wait for emails to arrive in an inbox. The WaitForControllerApi contains many methods to receive incoming emails.
It is important to set a timeout when waiting for emails. Email is a slow protocol and provider may differ in their sending speeds. We recommend a timeout of at least 60000ms.
The standard method takes an , expected and a . When called MailSlurp will check the inbox for emails. If the count equals or exceeds the given count the emails will be returned immediately.
If not MailSlurp will wait until the expected emails to arrive and the count is met before returning. If the timeout is exceeded an error will be thrown. You can also pass an parameter so that only unread email are counted.
WaitFor methods will return immediately if the conditions passed are already met by an inbox. If not MailSlurp will retry the conditions until a timeout has been reached. You must ensure your application or test HTTP timeout allows for this.
There are several other waitFor methods that each have different use-cases.
For full method documentation see the docs page.
MailSlurp also lets you wait for emails based on search pattern matching on fields within an email. See the WaitForControllerApi methods for more information.
For instance, you could wait for a welcome email during an integration test of your sign-up process by matching the subject line.
Here is an example of using a match to extract a verification:
See email matching guide for more usage.
Imagine a test where you have created an inbox and signed up for your application using it. Then we can use a match for first email that contains the expected subject. Finally we using a regex we can extract the url. See the extracting email content guide for more examples.
Another way to receive emails is by using Webhooks.
If you are receiving high numbers of emails we highly recommend webhooks. They are backed by message queues and route emails directly to an HTTP endpoint on your server in real-time.
Please see the using webhooks guide or the developer webhook documentation for more information.
To use a Webhook you must have a publicly accessible URL endpoint that can receive HTTP POST JSON payloads (such as an API or server).
You can create webhooks in the MailSlurp dashboard or programmatically. Webhooks are associated with a single inbox.
Each time an inbox receives an email MailSlurp will check for any associated webhooks and send a JSON payload to the URL. The payload contains information about the email and is described by the webhook payload schema
For more information on webhooks see the Webhook guide or the webhook API endpoints.
MailSlurp allows you to attach complex forwarding rules to any inbox that can forward inbound emails to another email address based on matching conditions. See the forwarding rules guide for more information.
Now that email receiving is covered let's see what the emails themselves look like in the next section.
Check out our tutorial video series.
Email and SMS guides for automation and testing.
View github project code for multiple languages.
Latest posts from the MailSlurp team.
Test, build, and automate messaging with a free MailSlurp account.
