guides
Configure single sign-on using SAML and Okta identity provider
Configure identity providers like Okta to enable enterprise SSO login to shared email accounts. Create company mailboxes with auto-forwarding and RBAC login.
MailSlurp enterprise plans support SSO SAML login. This post will demonstrate how to establish an integration with your Okta identity pool. While these steps apply to Okta they also apply to other identity providers that support SSO. This guide assumes you have created a MailSlurp organization in the dashboard app.
Prerequisites
- Make sure you have a MailSlurp account
- Upgrade your account to an enterprise plan
- Create an organization in MailSlurp for your team
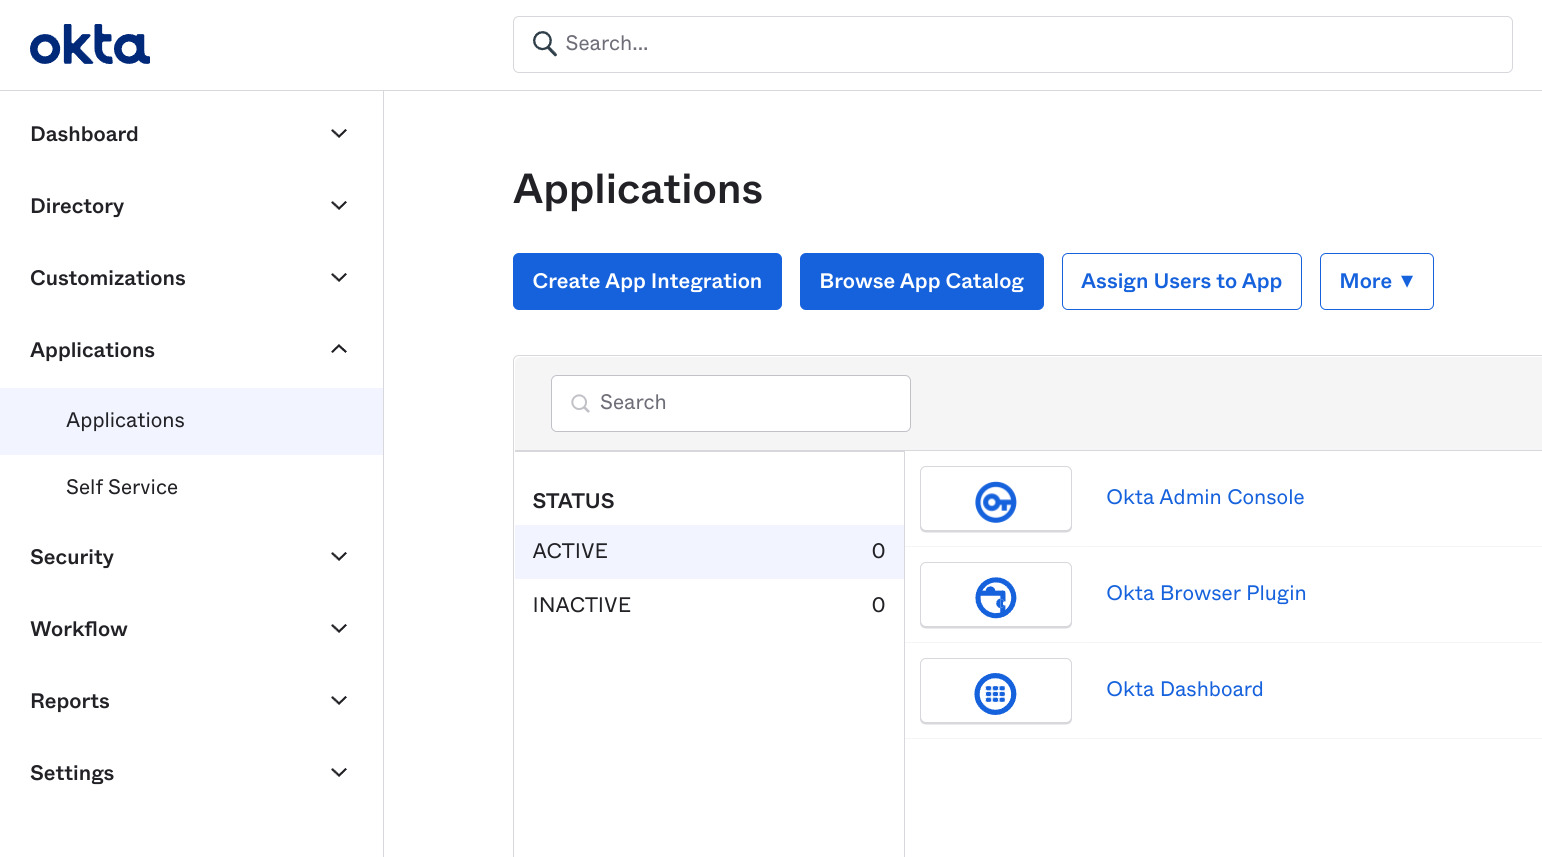
1) Create integration in Okta
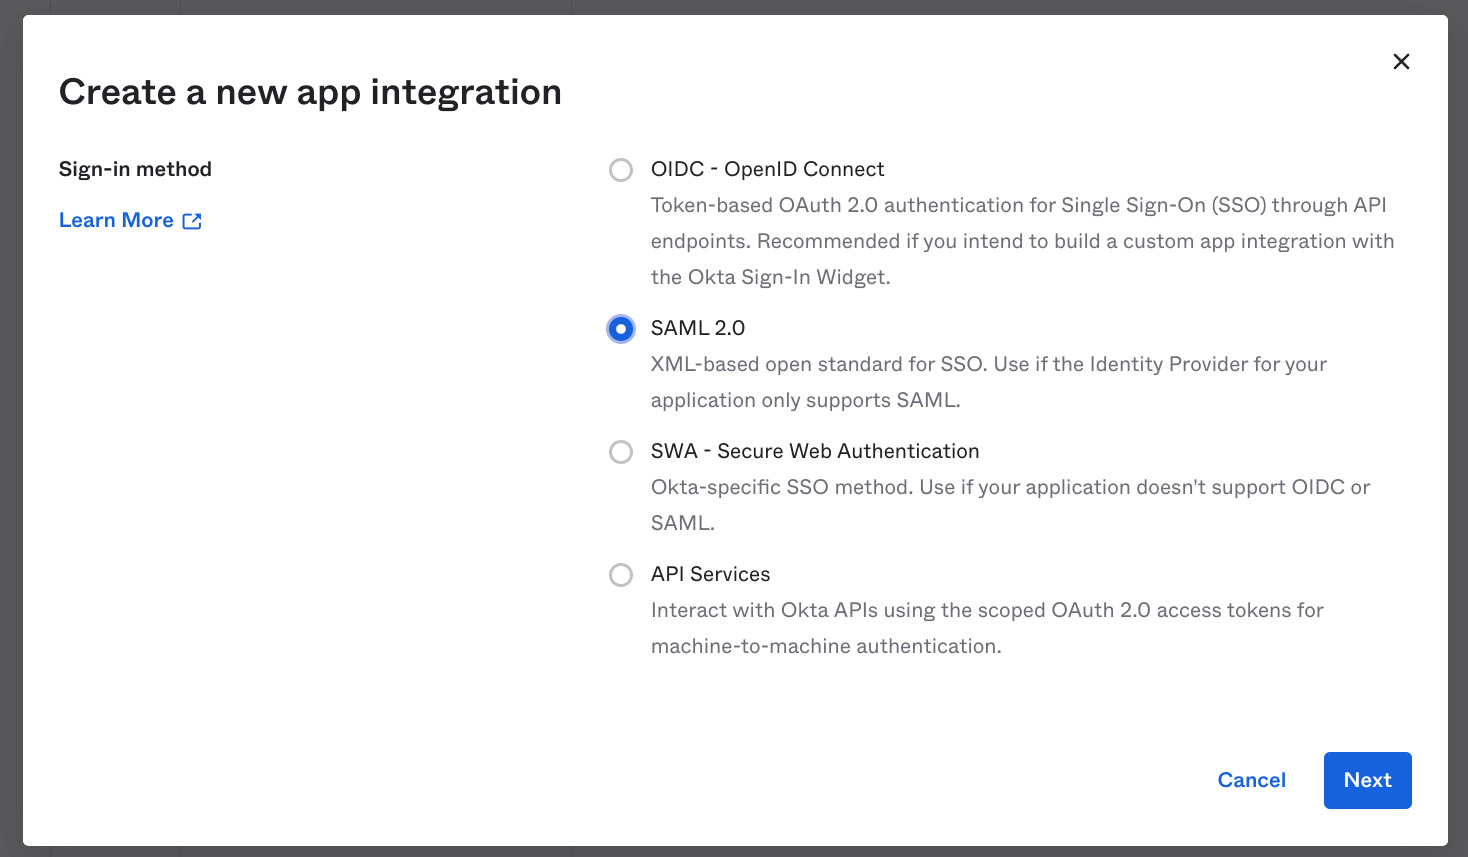
Log into your Okta or IdP account and create a new internal application pairing using SAML 2.0:
Specify SAML 2.0 for the sign in method:
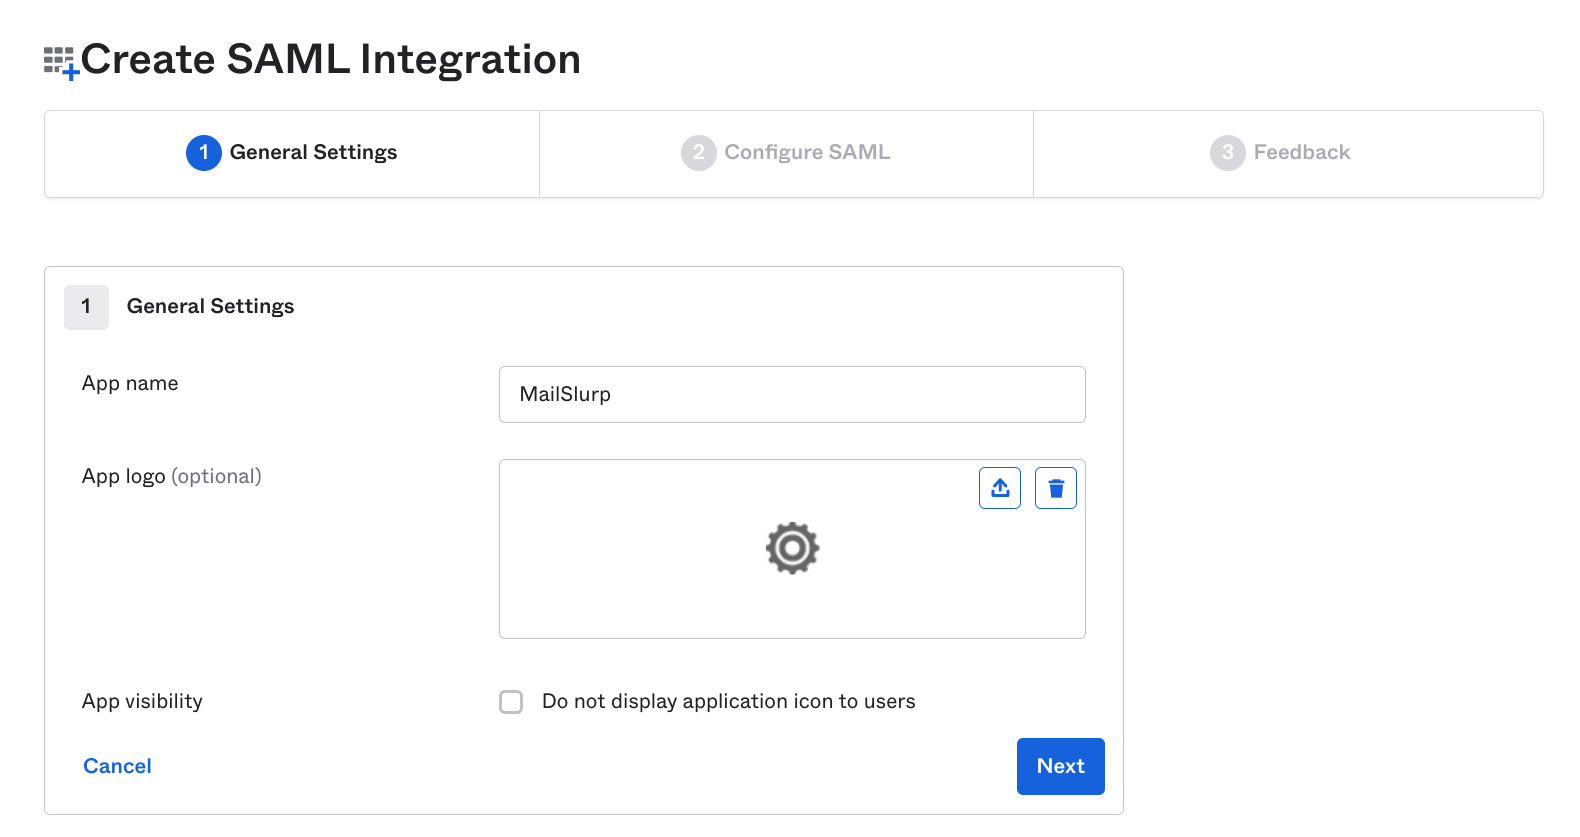
2) Pick a name
Add a name and application icon if desired.
3) Add single sign-on URL (ACS)
An important step is to provide your Idp with an ACS SAML assertion URL so that you can login. For the Audience URI use the same ACS URL.
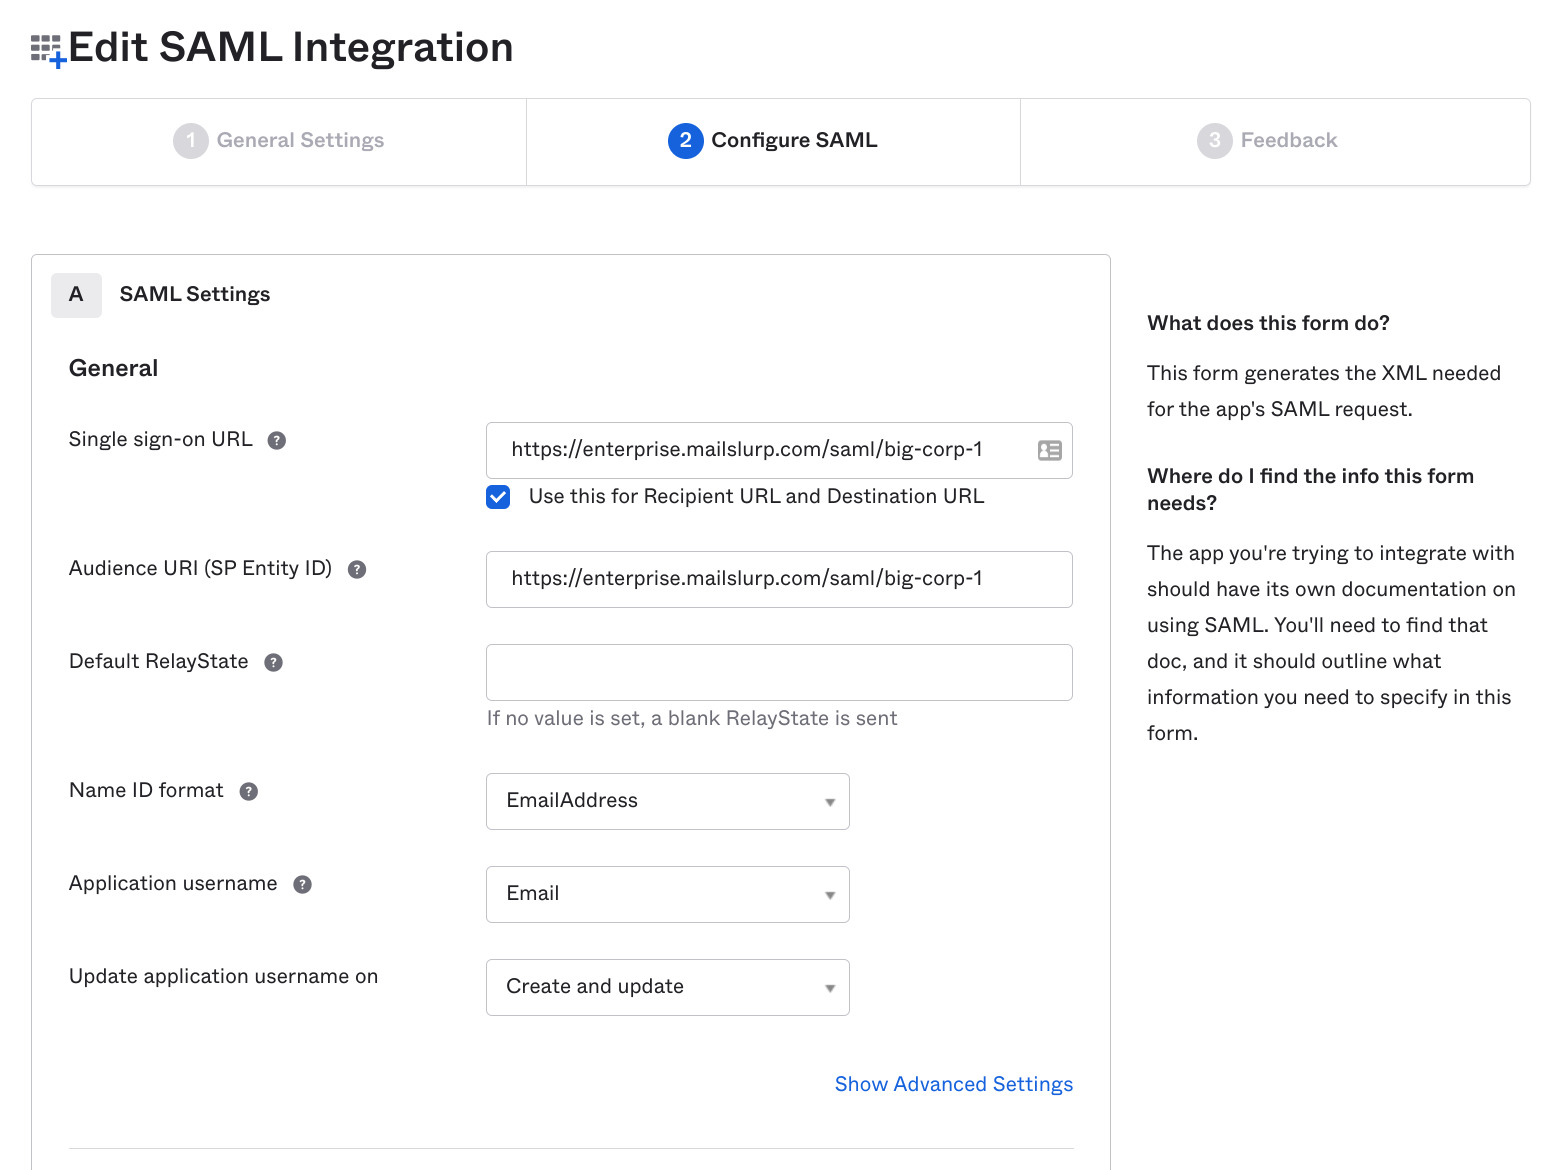
Use the slug for your organization instead of the
big-corp-1slug shown in the images.
4) Configure name ID format
You must tell your IdP to map the email address of your user to the name ID so that MailSlurp can identify them. For name ID format use EmailAddress. For application username use Email.
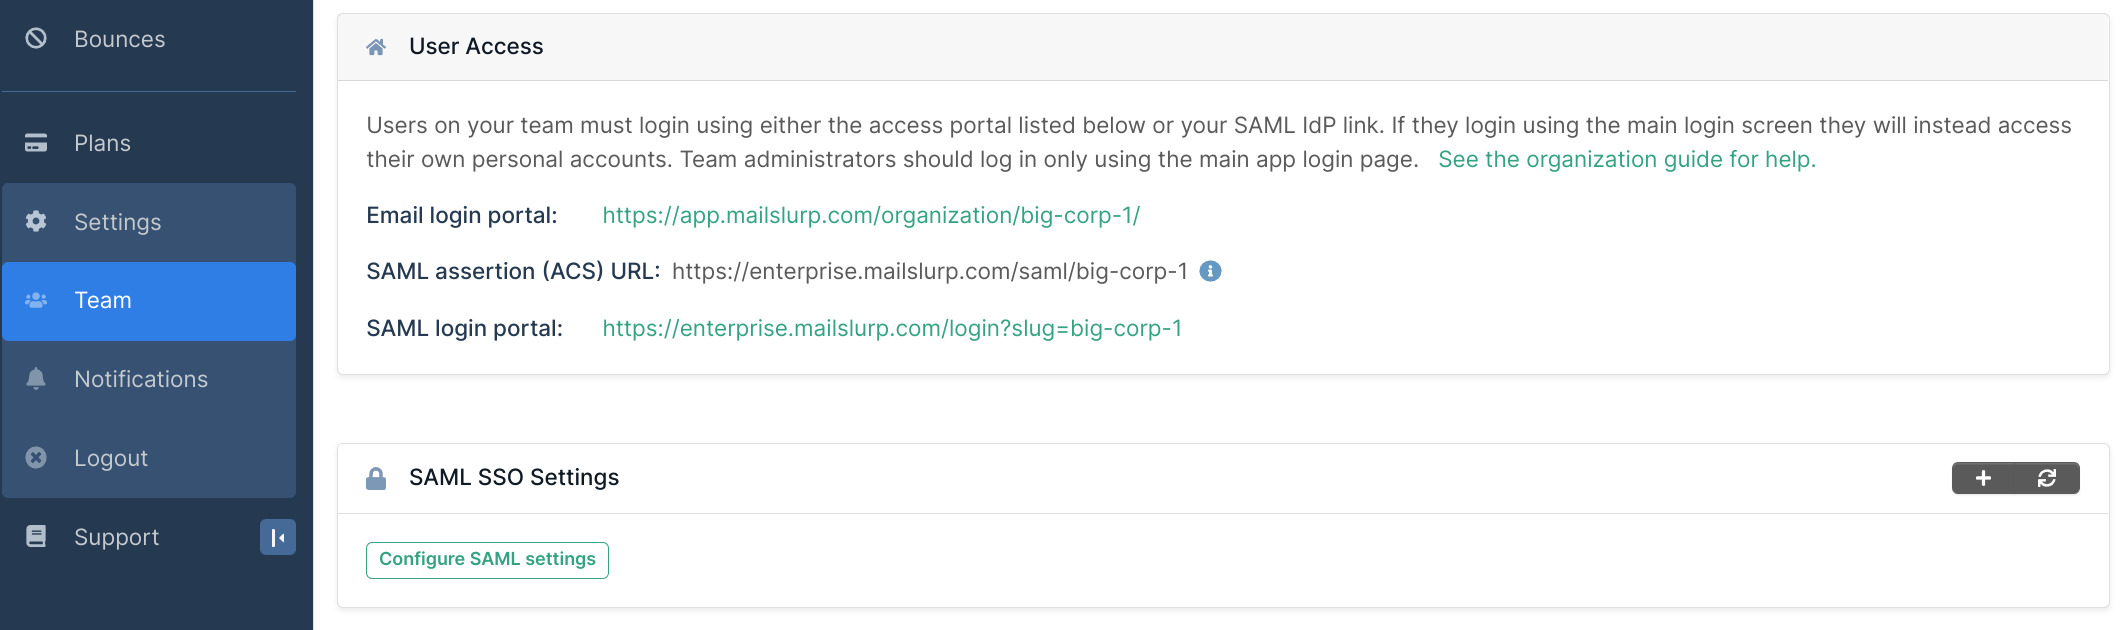
5) Add issuer, certificate, and entrypoint to MailSlurp
Next view the setup instructions for your SAML integration:
- Go to the MailSlurp dashboard organizations page and create a new SAML settings configuration.
- Copy the certificate, issuer, and entry point from your IdP and paste them into the MailSlurp SAML settings create form.
The SAML settings can be found in Okta by click the View SAML setup instructions button on the Okta integration page.
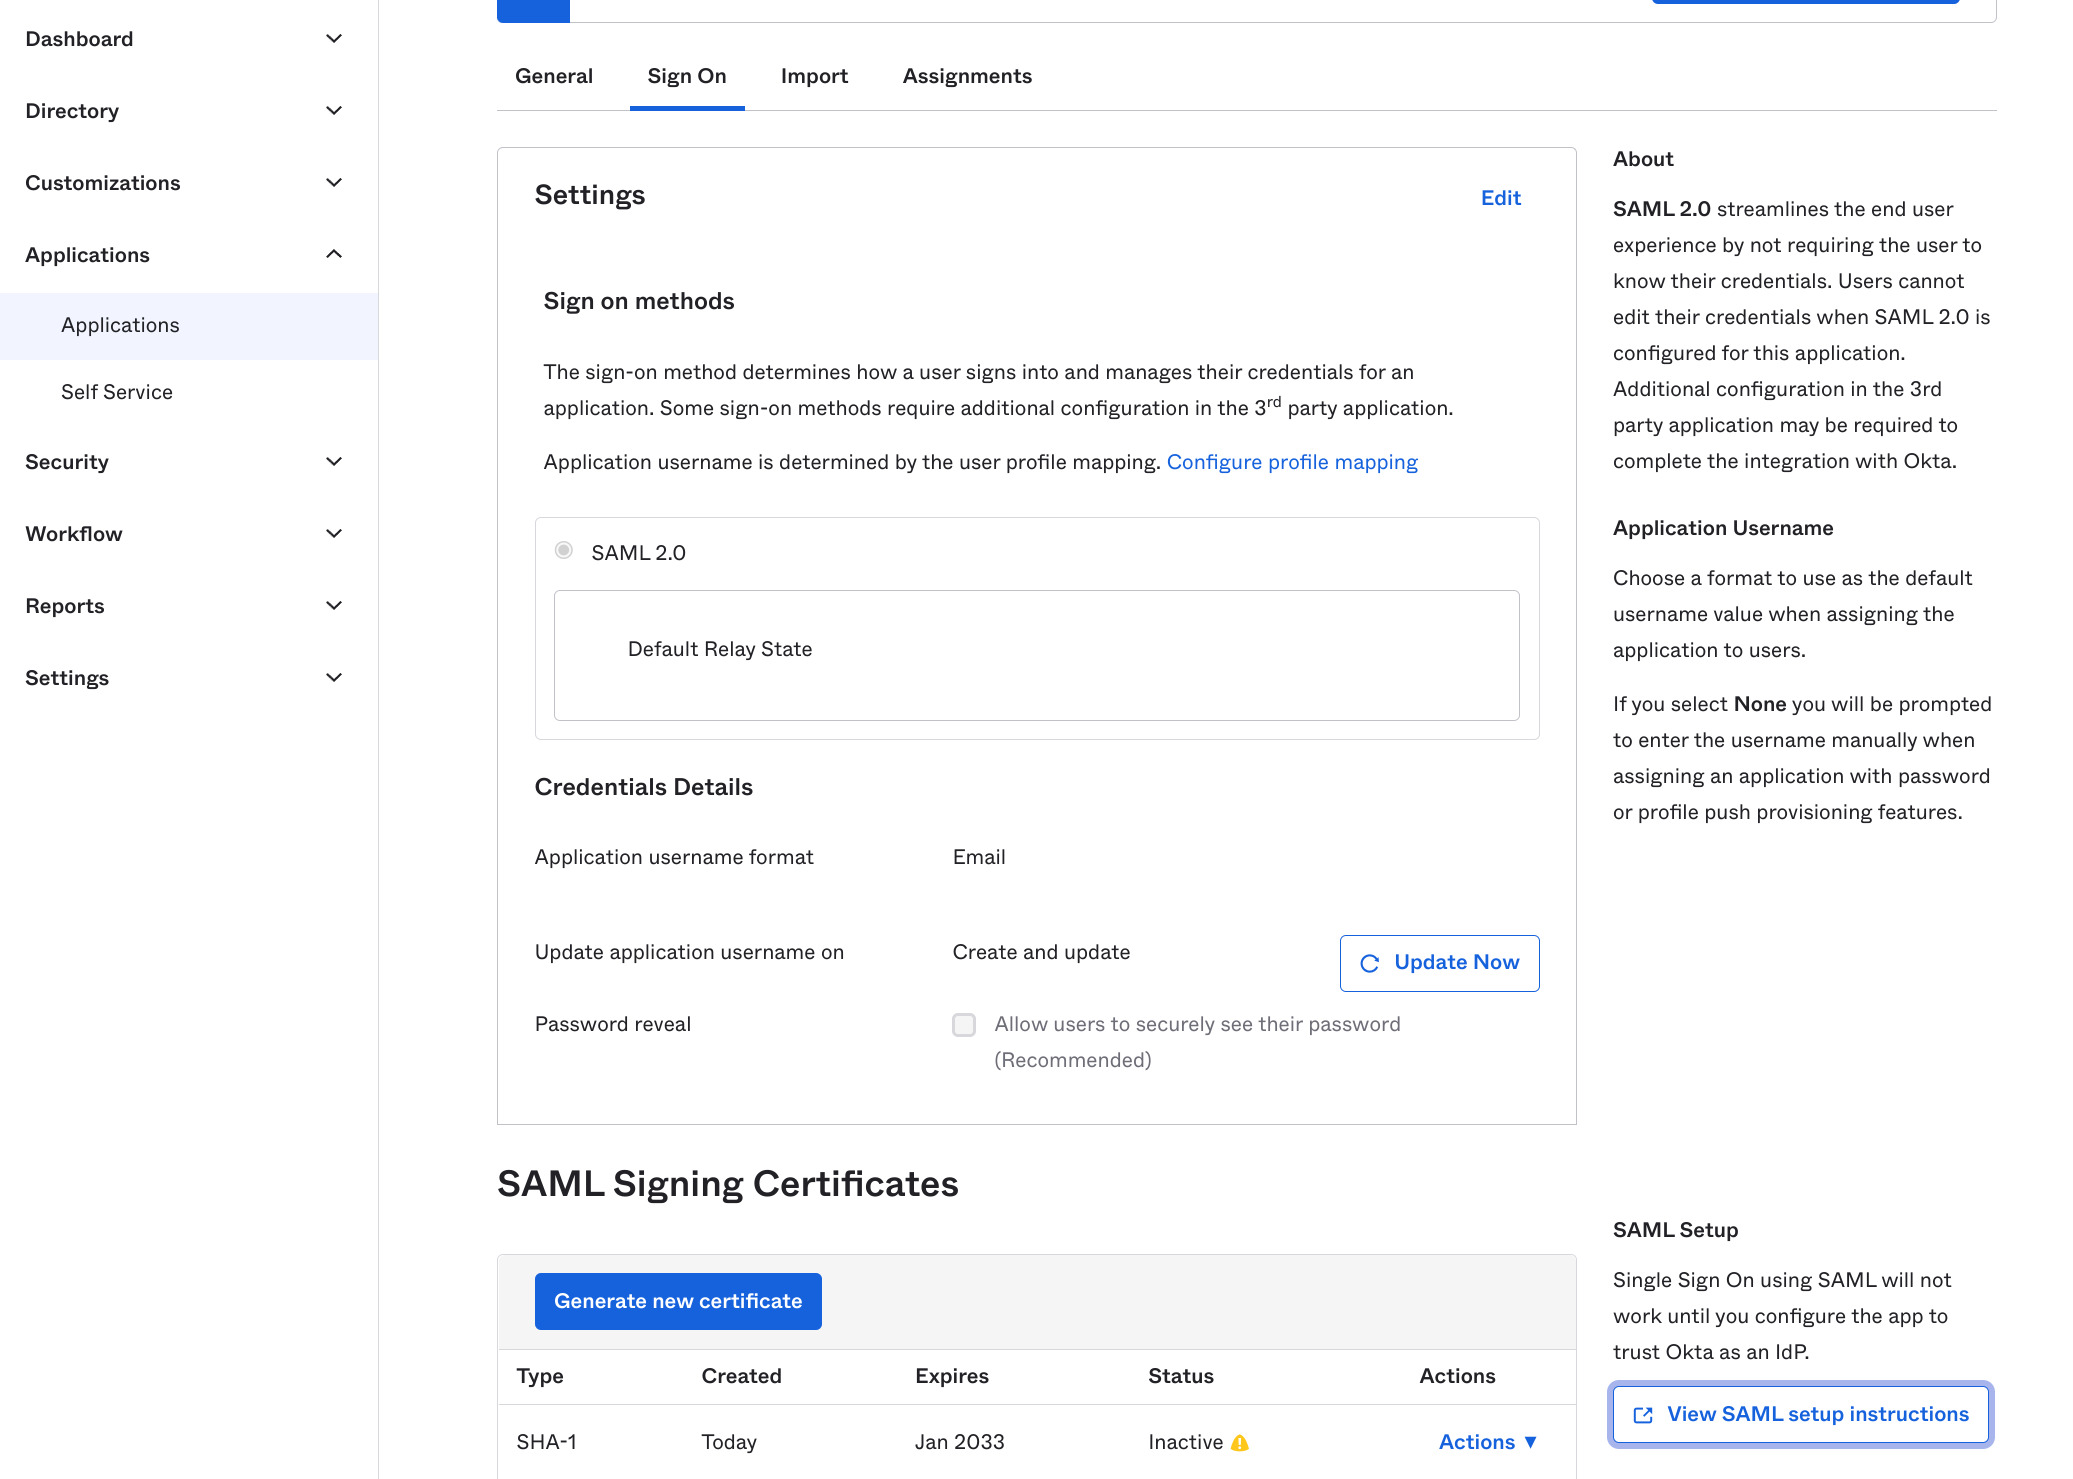
Click the view setup button to reveal the X.509 certificate, issuer, and sign on URL.
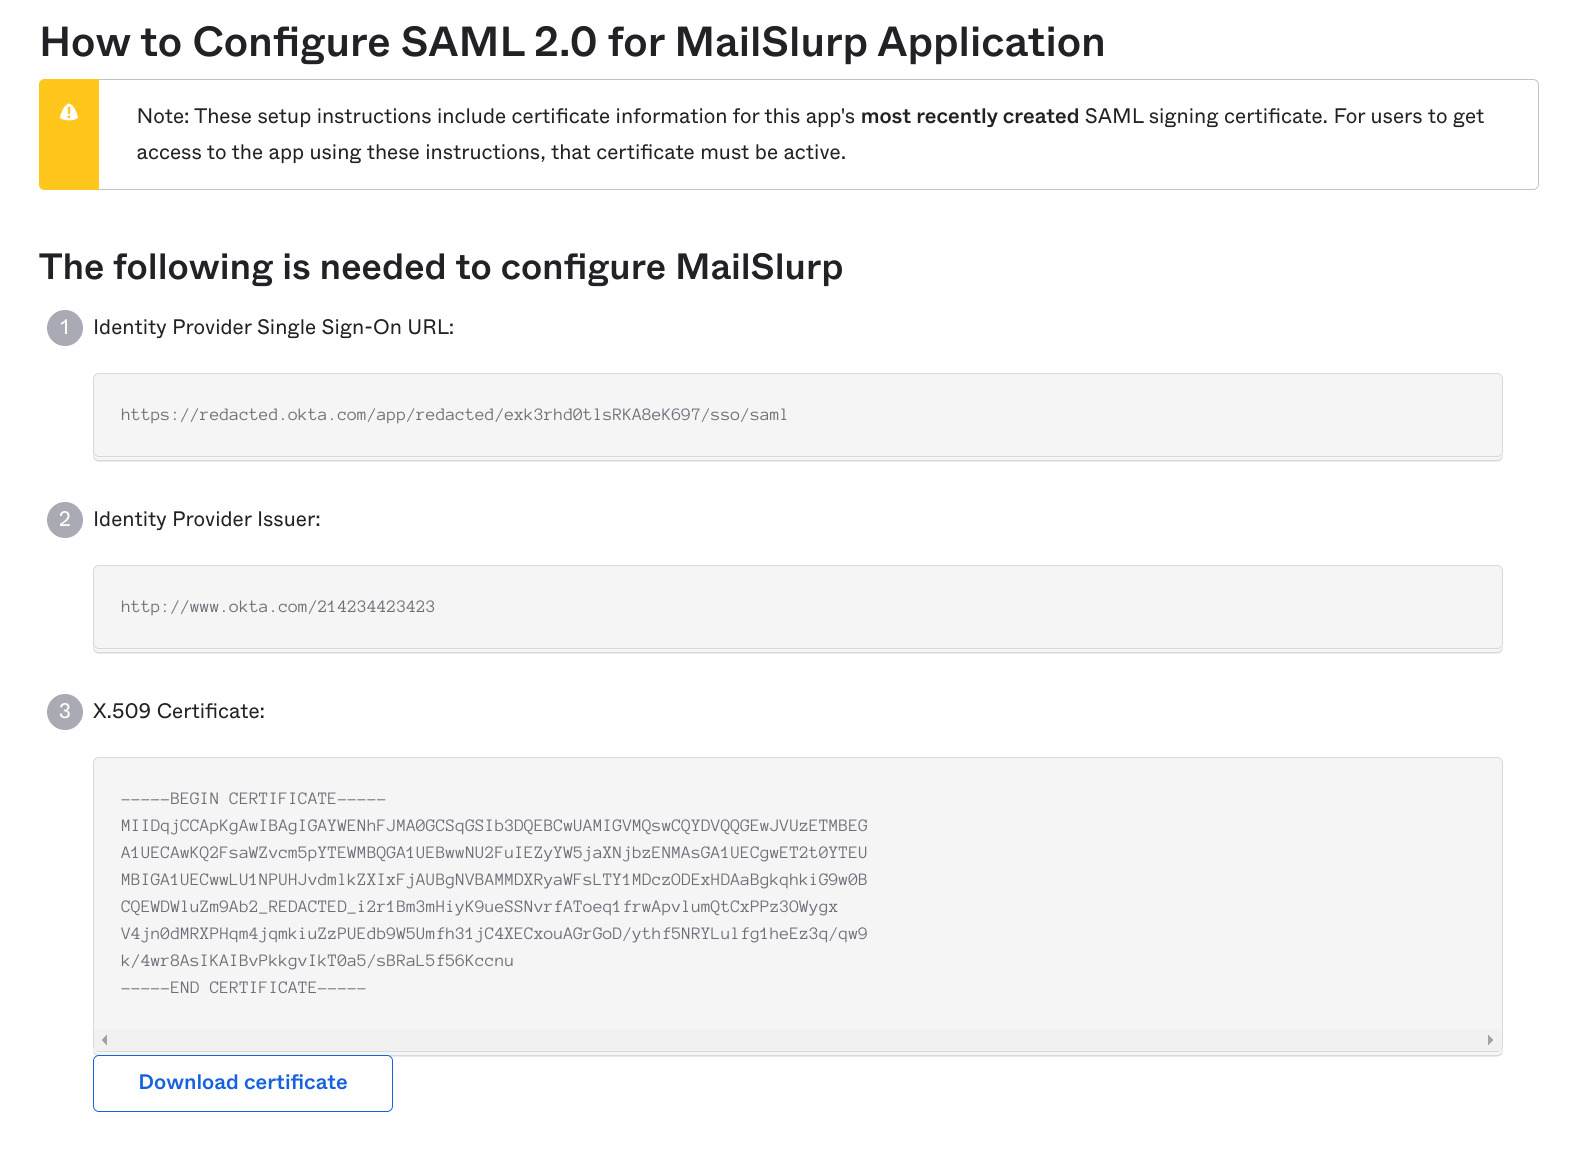
Copy these values into the MailSlurp SSO settings form on the organization page:
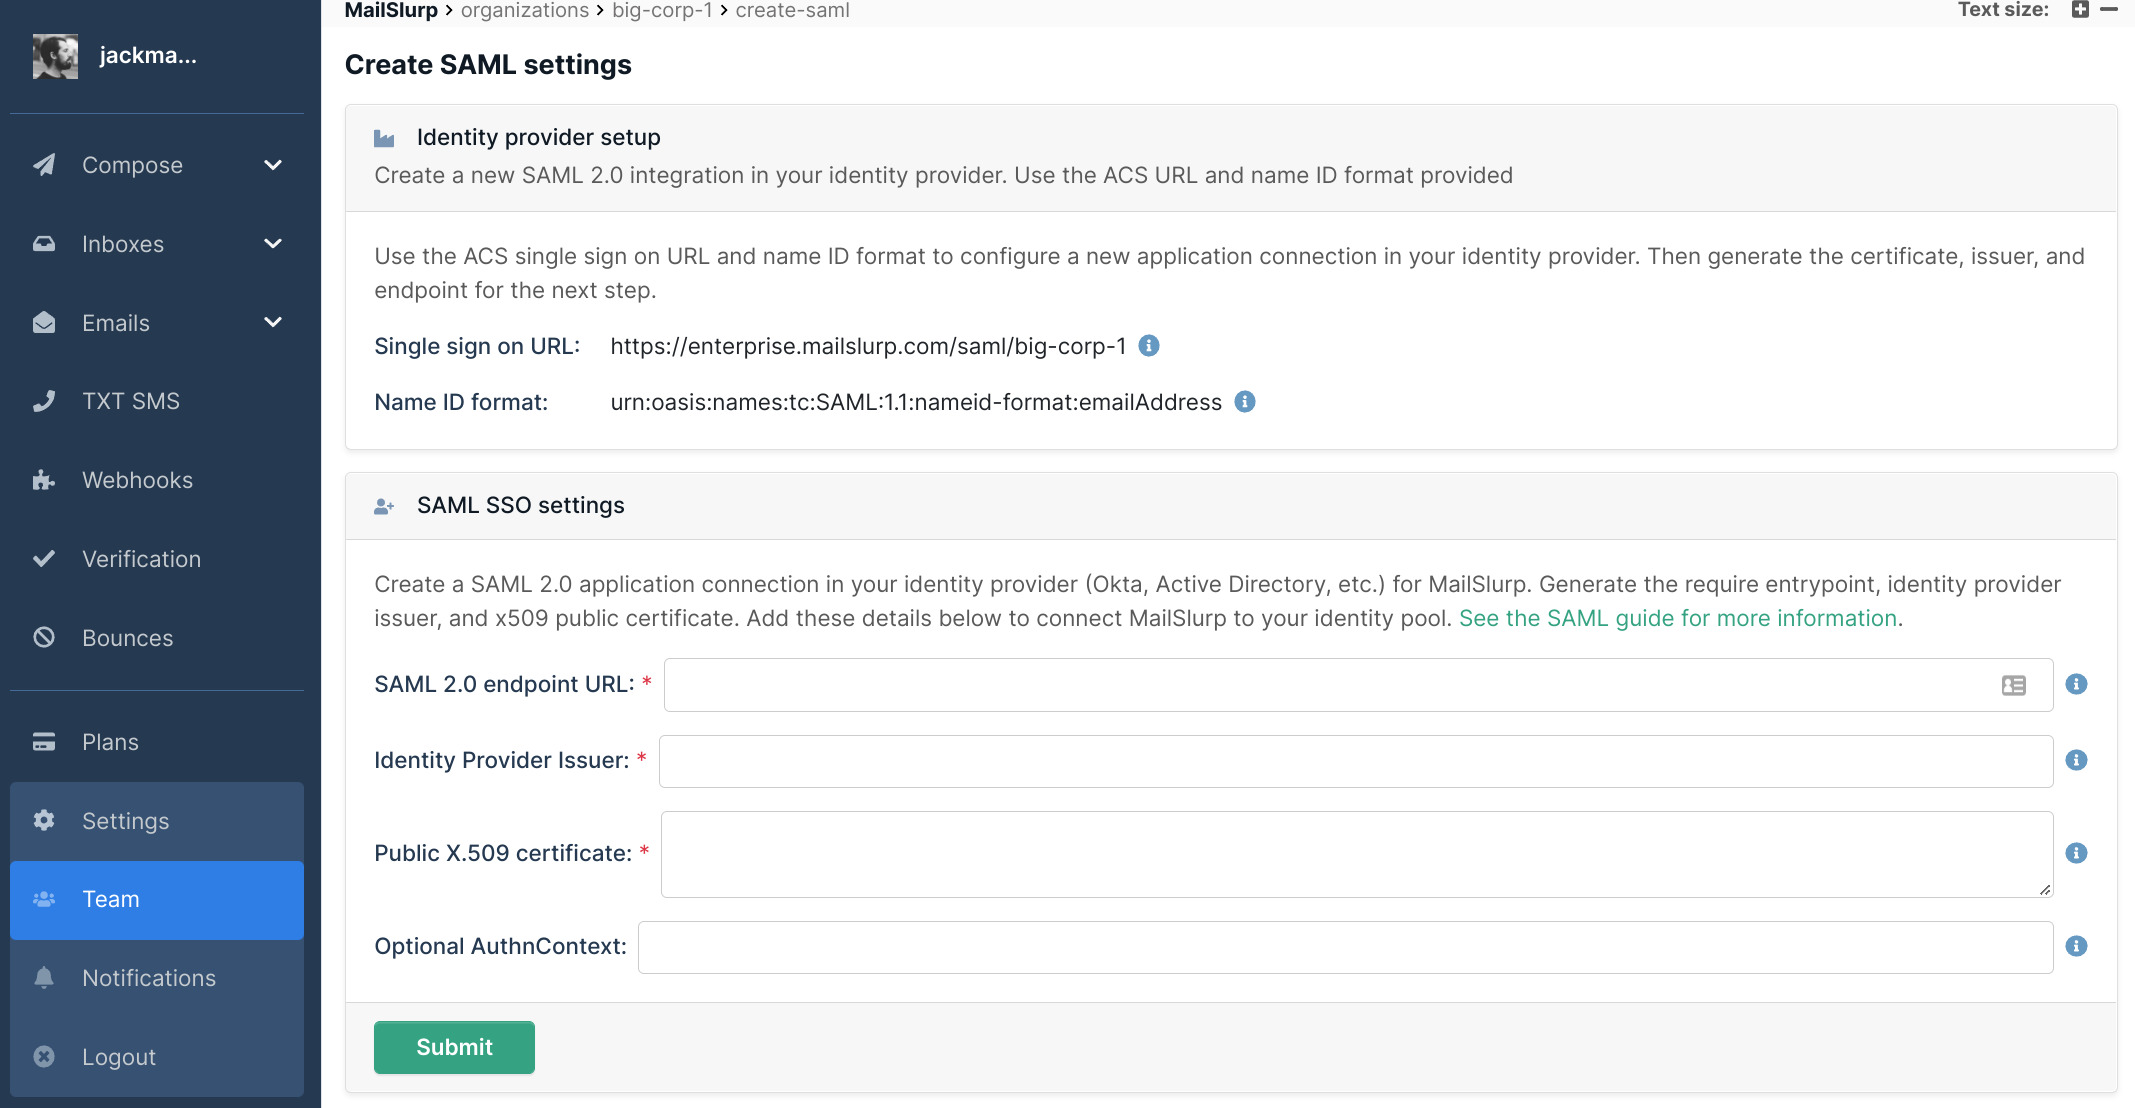
Save the SAML settings to enable the MailSlurp integration.
6) Login to SAML organization
Invite and manage users using your identity provider. Users can access the application at https://enterprise.mailslurp.com/login?slug=YOUR_ORGANIZATION, the enterprise homescreen https://enterprise.mailslurp.com/, or using the IdP access page.