
How to Preview a Mailchimp Test Email Across Devices
Send a Mailchimp test email to MailSlurp, compare Gmail, Outlook and iPhone previews, and check dark-mode contrast and personalized content before launch.
Use with your tools
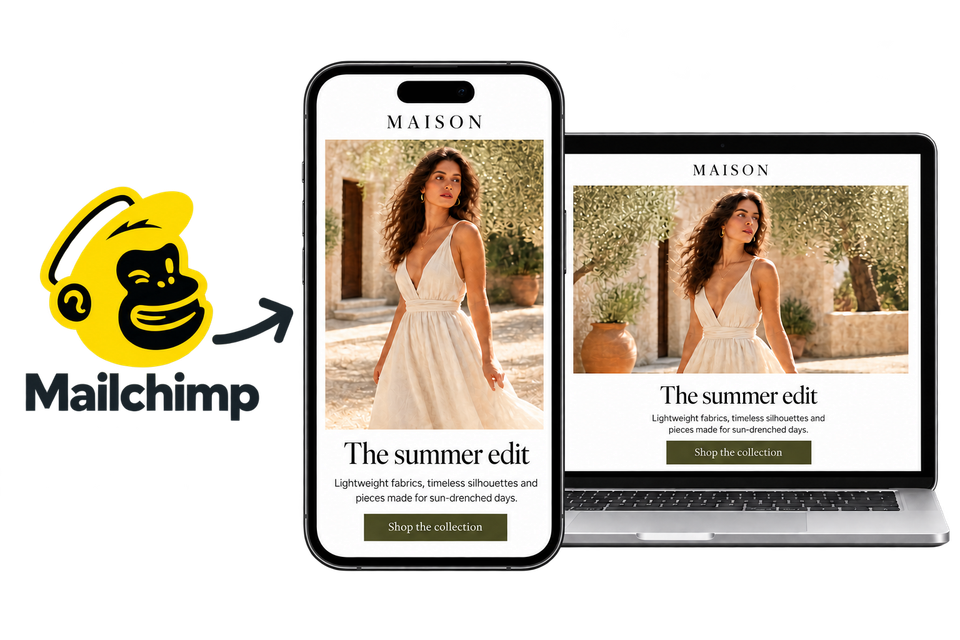
Mailchimp's desktop and mobile previews help while you design a campaign. Before scheduling it, check the delivered email in the apps your subscribers use: a background that appears in Gmail can be missing in Outlook, and a readable logo can lose contrast in dark mode.
Doing that after every revision means another round of test sends, app checks and screenshots. MailSlurp is an email testing platform with automated device previews, so you can compare those client captures together and share the same version with reviewers.
For the provider overview, see Mailchimp email previews with MailSlurp.
How automated device rendering works
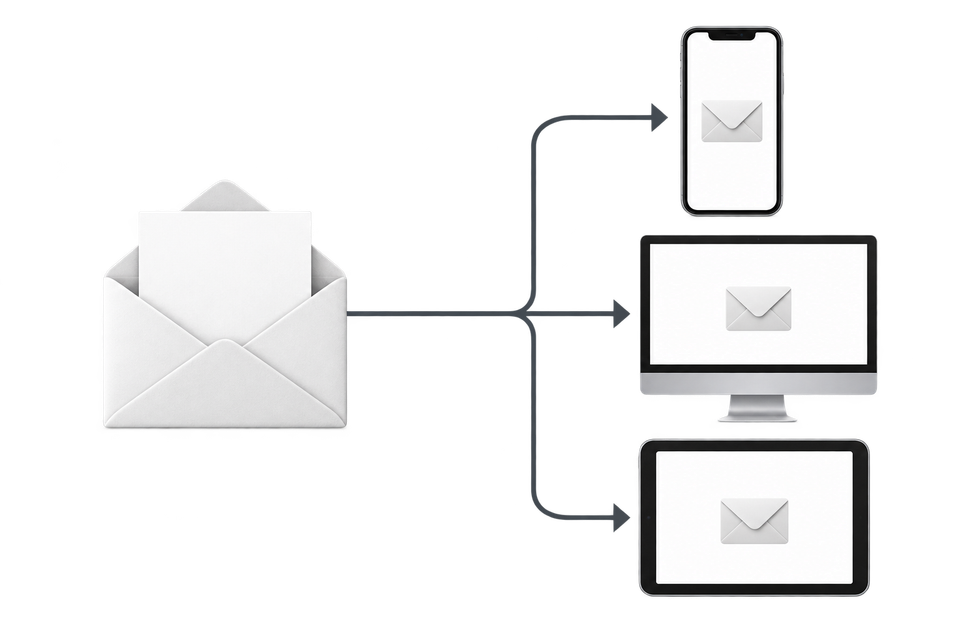
Choose the devices and email services you want to test, and MailSlurp gives you a special email address. Send your campaign to that address. MailSlurp opens the email in the selected apps and webmail services, then captures screenshots automatically.
The screenshots come back together, ready to compare across phones, tablets and computers. Check the layout, images and buttons, then share a result link so your team can review the same version of the email.
Quick answer
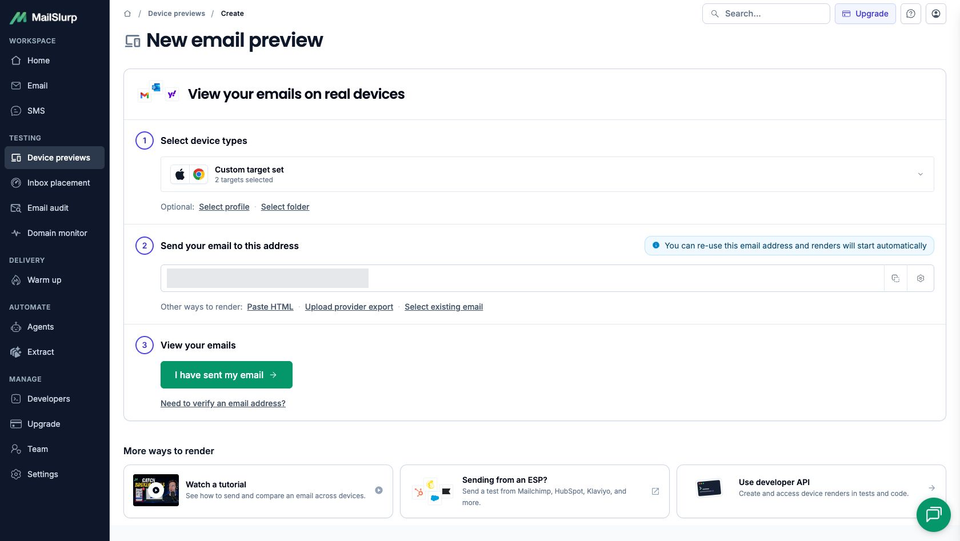
Create a MailSlurp device preview, choose the clients, click Use selected and copy its render address. In Mailchimp, open Send a Test Email, enter that address and send. When MailSlurp receives the email, open the completed results and compare the same campaign across your selected apps.
Use the campaign version you intend to approve. Ordinary Mailchimp tests are useful for layout checks, but contact-specific merge tags and dynamic content need an additional check, described in Step 4.
Watch the Mailchimp email preview workflow
The video follows the test send from Mailchimp to the MailSlurp results. The steps below also cover client selection, merge-data checks and what to do when a required capture is still running.
Send the Mailchimp campaign for device testing
The sample campaign announces a service update, with a logo, large heading, photograph and supporting text. On a phone, the content should fit the screen without horizontal scrolling. Its patterned background is also worth checking separately from the ordinary images inside the message.
Step 1: Start a new device render
Open Device Previews in MailSlurp. Click Start new render to open the setup, where you will choose clients and get an address for this preview workflow.
The recent-renders list below the setup area keeps earlier results available for comparison and review.
Step 2: Choose clients and copy the render address
Expand the selector and choose the apps your subscribers use. An iPhone check needs an app name: Gmail iOS, iOS Mail and Outlook iOS are separate targets. The Gmail on iPhone guide and iPhone Mail guide explain what to inspect in those two apps.
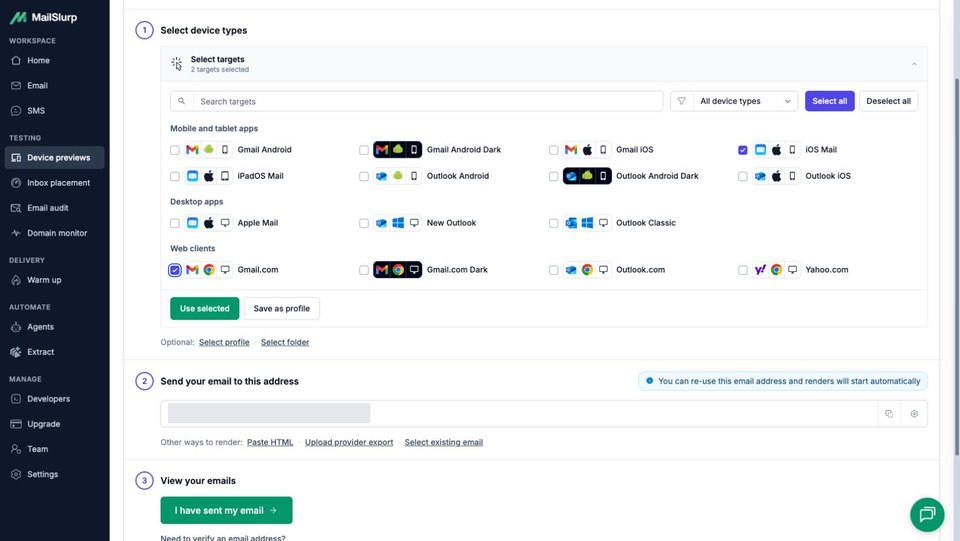
Click Use selected to confirm the targets, then copy the address under Send your email to this address. MailSlurp uses that address to receive the Mailchimp test email and start the selected renders.
For Windows recipients, choose Outlook Classic and New Outlook separately when both are relevant. Include a named light/dark pair, such as Gmail Android and Gmail Android Dark, if you need to compare color changes.
Step 3: Open the Mailchimp test-send action
Open the finished campaign or template in Mailchimp's email designer. The screenshot labels the upper-right action Send test; Mailchimp's current new-builder instructions call it Send a Test Email. In the legacy builder, use Preview > Send a test email.
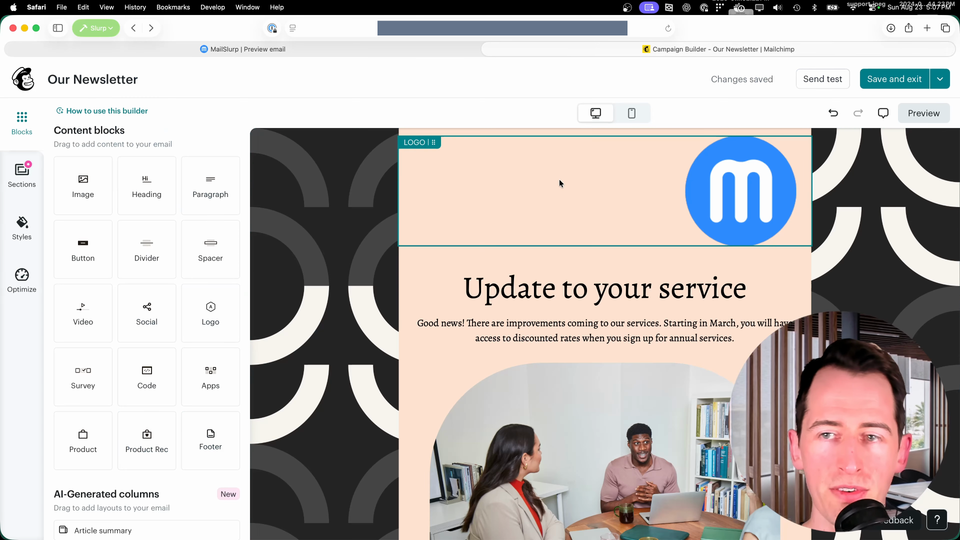
Mailchimp also has desktop and mobile editor previews. Those are useful while designing, but this workflow tests the delivered message across a broader client set.
Step 4: Send the test to MailSlurp
Paste your complete MailSlurp render address into Mailchimp's Send a test to field, then click Send test. Use the address from your own selected client set.
Mailchimp's ordinary test emails do not populate contact-specific merge tags or dynamic content, even if the test recipient is an audience contact. Use Enable live merge tag info in Preview to inspect a contact's values. When you need to check that personalized content in a delivered email, send a live campaign only to a small internal test segment. Mailchimp's preview and test instructions cover these separate checks.
Step 5: Confirm that MailSlurp received the email
After Mailchimp confirms the test was sent, return to MailSlurp and click I have sent my email. MailSlurp creates the render run automatically when the message arrives. Click View results when the waiting dialog shows the email.
If no email appears, confirm that the complete render address was pasted into Mailchimp and that the test send completed successfully.
Step 6: Wait for client capture to finish
MailSlurp captures each selected client independently. The progress bar shows how much of the target set is complete, while each result reports its own capture state.
You can stay on this page while results arrive. Start the visual review after the required clients have finished so a slow target is not mistaken for a missing result.
Review the Mailchimp email in each client
Start with a completed result, then compare a second app or appearance. A thumbnail can reveal an obvious missing image; open the full capture to read smaller text and check the bottom of the campaign.
Step 7: Review the completed client grid
Scan the result grid for obvious differences before opening individual previews. This example reports 18 ready captures and one still capturing. A ready indicator means a capture is available; inspect the email to decide whether its layout passes.
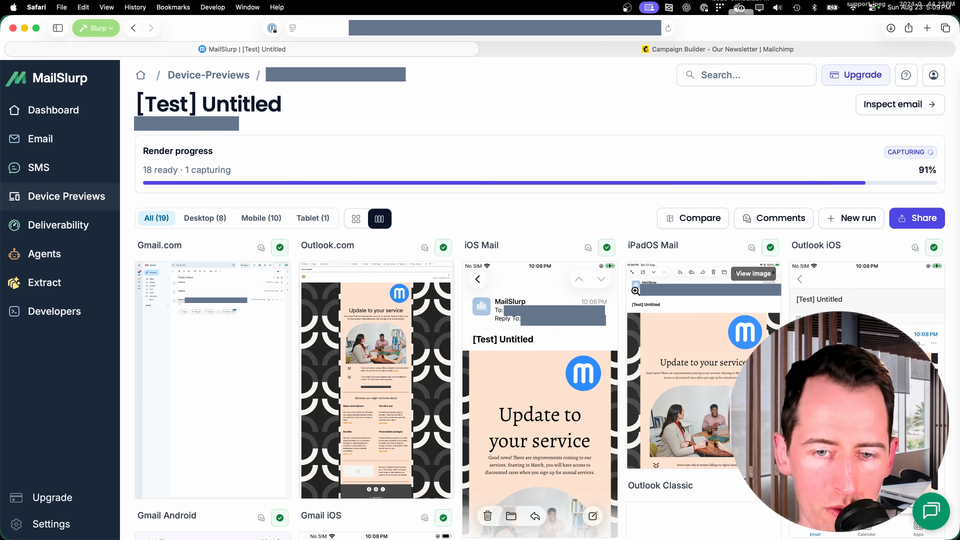
Review the ready results, then return for any required target that is still capturing. Look for:
- images that are missing, clipped, or stretched
- columns that fail to stack on mobile
- buttons that disappear or become hard to tap
- text and logos with poor dark mode contrast
- Outlook spacing or table-layout changes
- footer, unsubscribe, or preference links that become difficult to use
Step 8: Inspect one client or compare two renders
Open any client result for a larger preview. Use the client selector to move between results, or click Compare to put two renders side by side.
For a layout difference, compare the affected app with another completed target from the same send. For a color difference, compare a supported light/dark pair. Scroll through the whole email, including the footer.
Check the Mailchimp campaign in dark mode
Compare Gmail Android with Gmail Android Dark from the same campaign revision. Inspect the email body, not only the dark inbox toolbar. Look at the logo edges, paragraph text, button fill and label, then continue down to the footer.
Mailchimp's dark-mode guidance recommends image contrast and solid button fills. A transparent PNG can remove an unwanted image background, but a dark logo may still disappear against a darkened surface. Change the affected asset or block in Mailchimp, resend and check both appearances again.
The dark-mode logo comparison demonstrates that contrast problem with one saved email rendered in Gmail Android light and dark modes. It is a separate imported example, not a comparison of this Mailchimp campaign.
Troubleshooting Mailchimp device previews
The Mailchimp test email does not appear
- Copy the complete MailSlurp render address again.
- Confirm that Mailchimp reported a successful test send.
- Check whether the Mailchimp account has reached a test-send or monthly sending limit.
- Send a fresh test instead of relying on an editor-only preview.
Images are missing in one or more clients
- Use absolute HTTPS image URLs in the campaign.
- Make sure the image host is publicly reachable without cookies or authentication.
- Check that Mailchimp has finished uploading and publishing the latest image version.
- Open the failing client result and compare it with another render before changing the template.
Merge tags show test values
Adding the test address to your audience does not make an ordinary test send resolve contact-specific merge tags. Use live merge-tag preview to inspect the values, or a small internal live test segment to check the delivered personalized message.
A background or image looks wrong in Outlook
First identify Outlook Classic, New Outlook or Outlook.com. The Outlook preview guide explains how to choose the exact target. A missing background image calls for a different check from a message where all remote images are blocked.
Mailchimp's background-image instructions distinguish the new and legacy builders and recommend a fallback background color. Check that the text and button remain readable against that color when the artwork is absent. Keep essential wording in text rather than relying on the background image to carry it.
If text is pressed against an image or the image is oversized, inspect that image block's spacing and the original image dimensions. Mailchimp's Outlook troubleshooting guidance describes those symptoms. Make one change, resend and compare the same target; do not assume every Outlook app will need the same treatment.
For a demonstrated background and button problem, see the separate Outlook Classic and New Outlook comparison. That article includes a coded repair verified in Classic, rather than a repair to this Mailchimp template.
A render is still capturing
Wait for the required client to finish, then refresh the result if necessary. Other completed clients can still be reviewed while one target is processing.
A practical approval checklist
Before scheduling the Mailchimp campaign, confirm:
- required desktop, web, and mobile renders are complete
- important images load at the intended size
- headings, paragraphs, and columns fit on narrow screens
- primary buttons are visible and easy to tap
- light and dark mode content remains readable
- footer and unsubscribe content is present
- critical links open the correct destination from a test message; personalized links were checked with suitable live test data
- the final result was rerun after the last template change
For a repeatable team process, continue with the email preview approval workflow and the email rendering QA checklist.
FAQ
Can I preview Mailchimp images on mobile before sending?
Yes. Send the final Mailchimp test email to a MailSlurp render address, then inspect the selected iPhone, Android, Gmail, Outlook, and other mobile results.
Does this test the real delivered email?
Yes. Mailchimp sends the test message to MailSlurp, and MailSlurp renders the received email. This includes the HTML, images, links, and other content present in that test send.
Should I use Mailchimp preview mode as well?
Yes. Use Mailchimp preview mode for quick design and merge-data checks, then use MailSlurp device previews for client-specific review of the delivered test email.
When should I rerun the preview?
Rerun it after changing images, copy, layout, links, tracking, merge logic, footer content, or Mailchimp campaign settings. Approval should always refer to the latest delivered version.
Can I keep the MailSlurp render address for later Mailchimp tests?
Yes. The render setup can receive new emails at the displayed address and start new results for the selected device set, making it useful for repeat campaign checks.