
Get started with MailSlurp
Documentation navigation
Build, test, and automate email and SMS. Choose a workflow, run your first SDK example, and learn the core MailSlurp concepts.
MailSlurp gives you real email addresses and phone numbers you can control from your code or the dashboard. Receive messages, send email, test how campaigns look and where they land, or turn incoming messages into automated workflows.
What can you do with MailSlurp?
Choose the capability that matches your workflow, or jump to the SDK quick start to send and receive your first message. Each guide below covers setup and the next steps.
| Feature and guide | Product preview |
|---|---|
| Programmable email inboxes Create real email addresses, send and receive messages, and inspect HTML, headers, links, and attachments. Use MailSlurp domains or bring your own. | 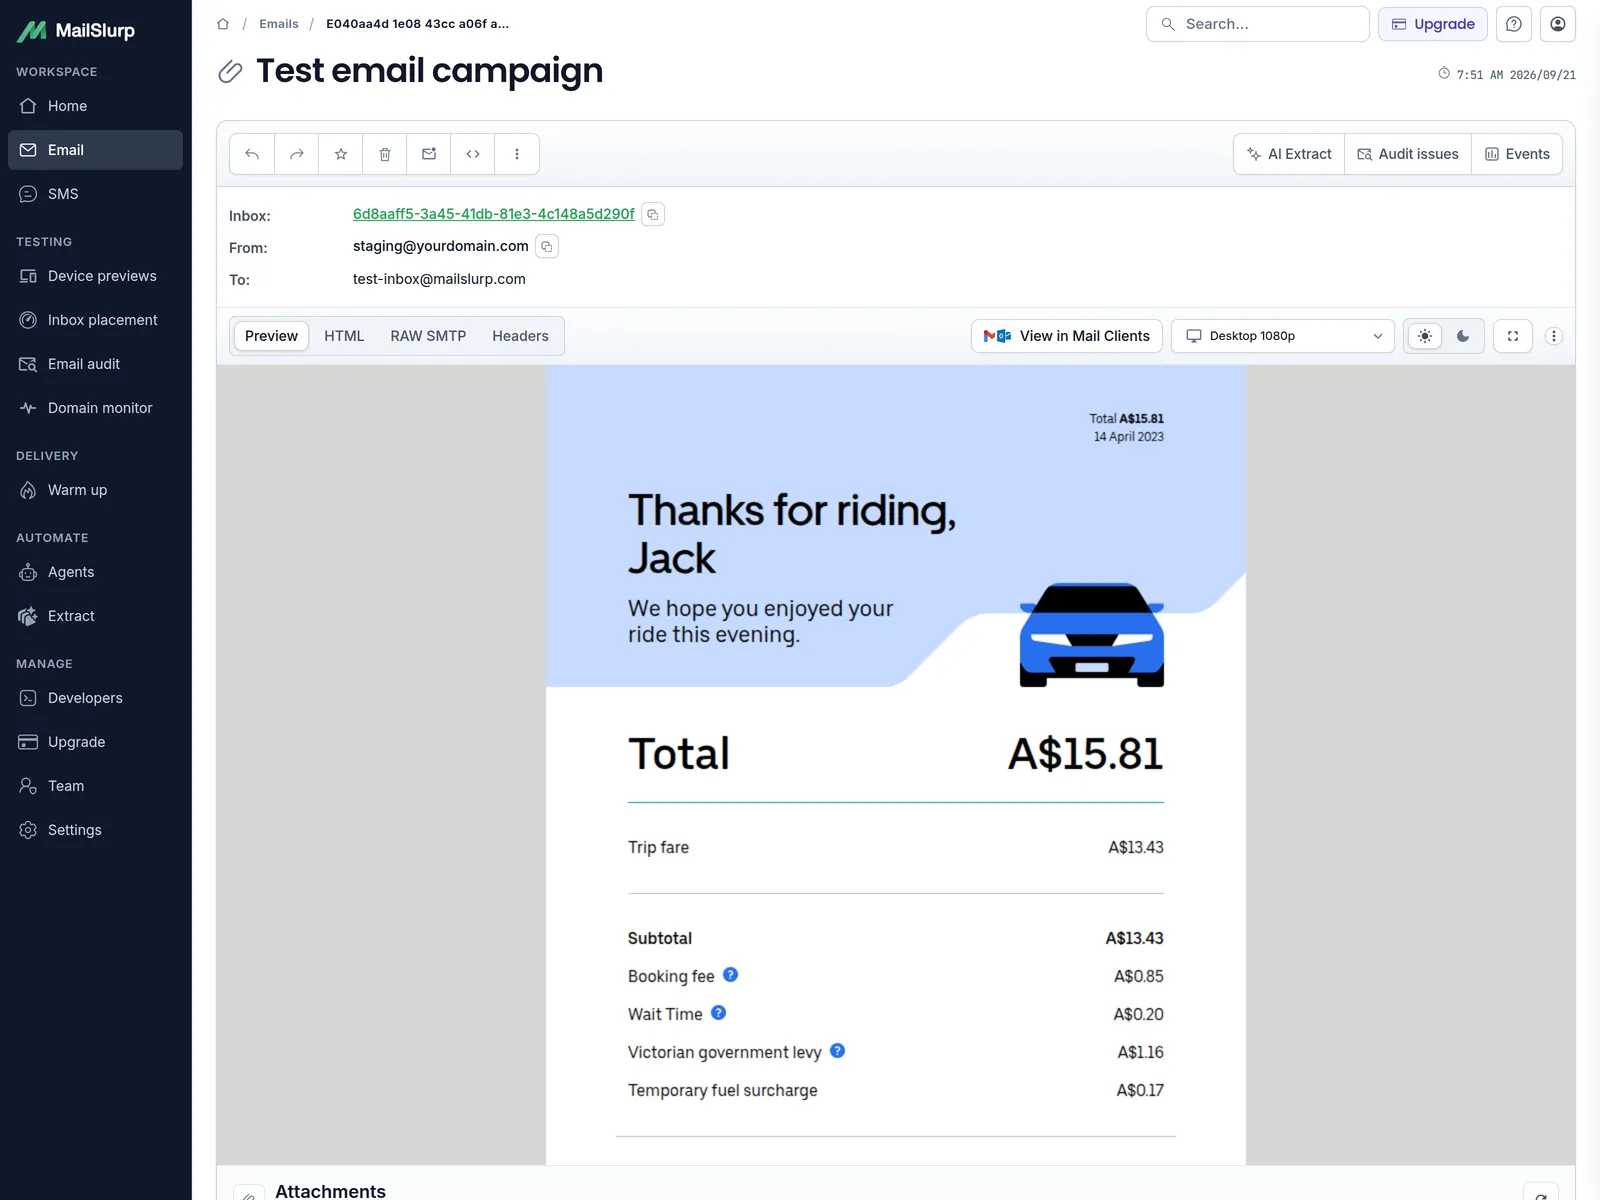 |
| Phone numbers and SMS Provision a real phone number, receive text messages, and read verification codes from your code. Inspect SMS conversations in the dashboard. | 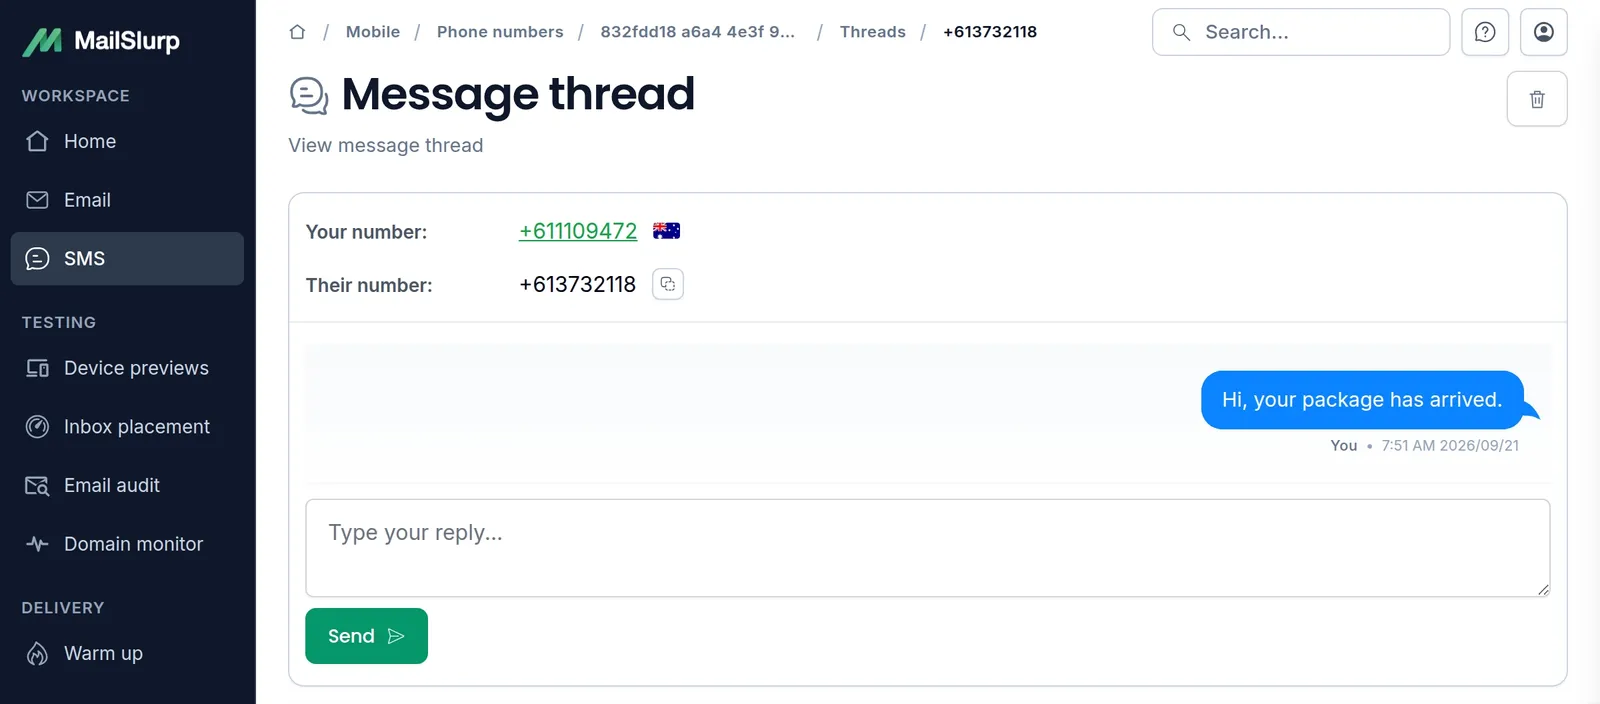 |
| Application testing Test signups, password resets, magic links, and OTP or MFA flows. Create a fresh inbox, trigger your application, wait for its message, and assert the result in your test runner. | 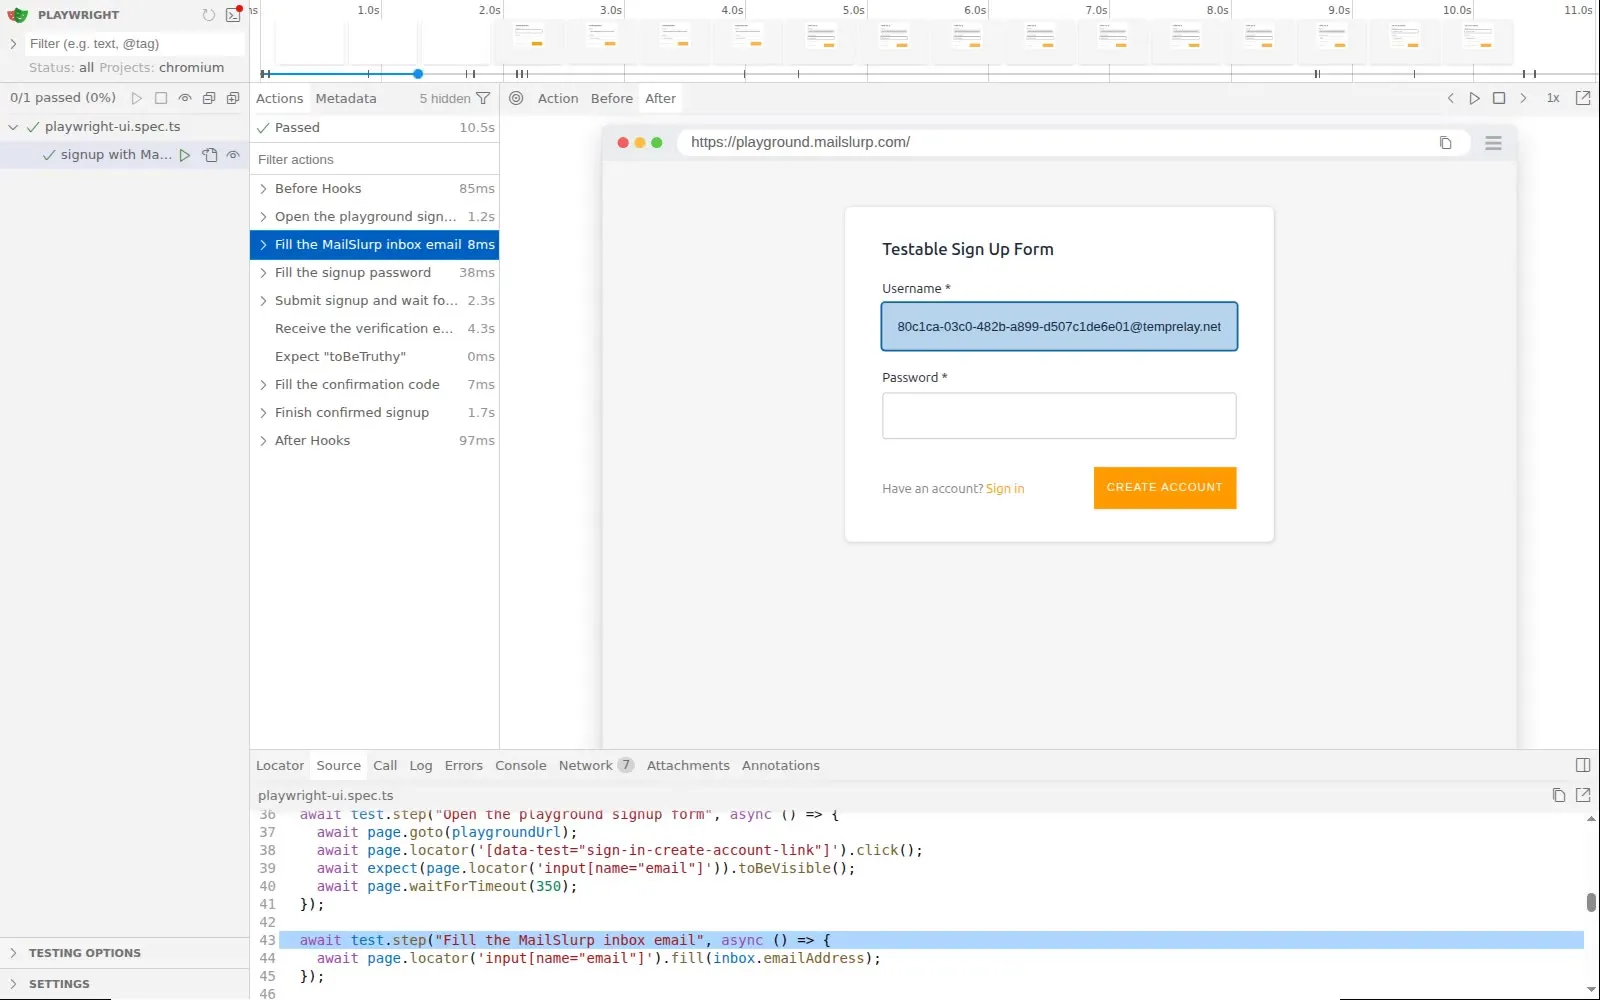 |
| Device rendering Preview the delivered email on real email clients and devices. Compare layouts, light and dark appearances, and client differences before sending your campaign. | 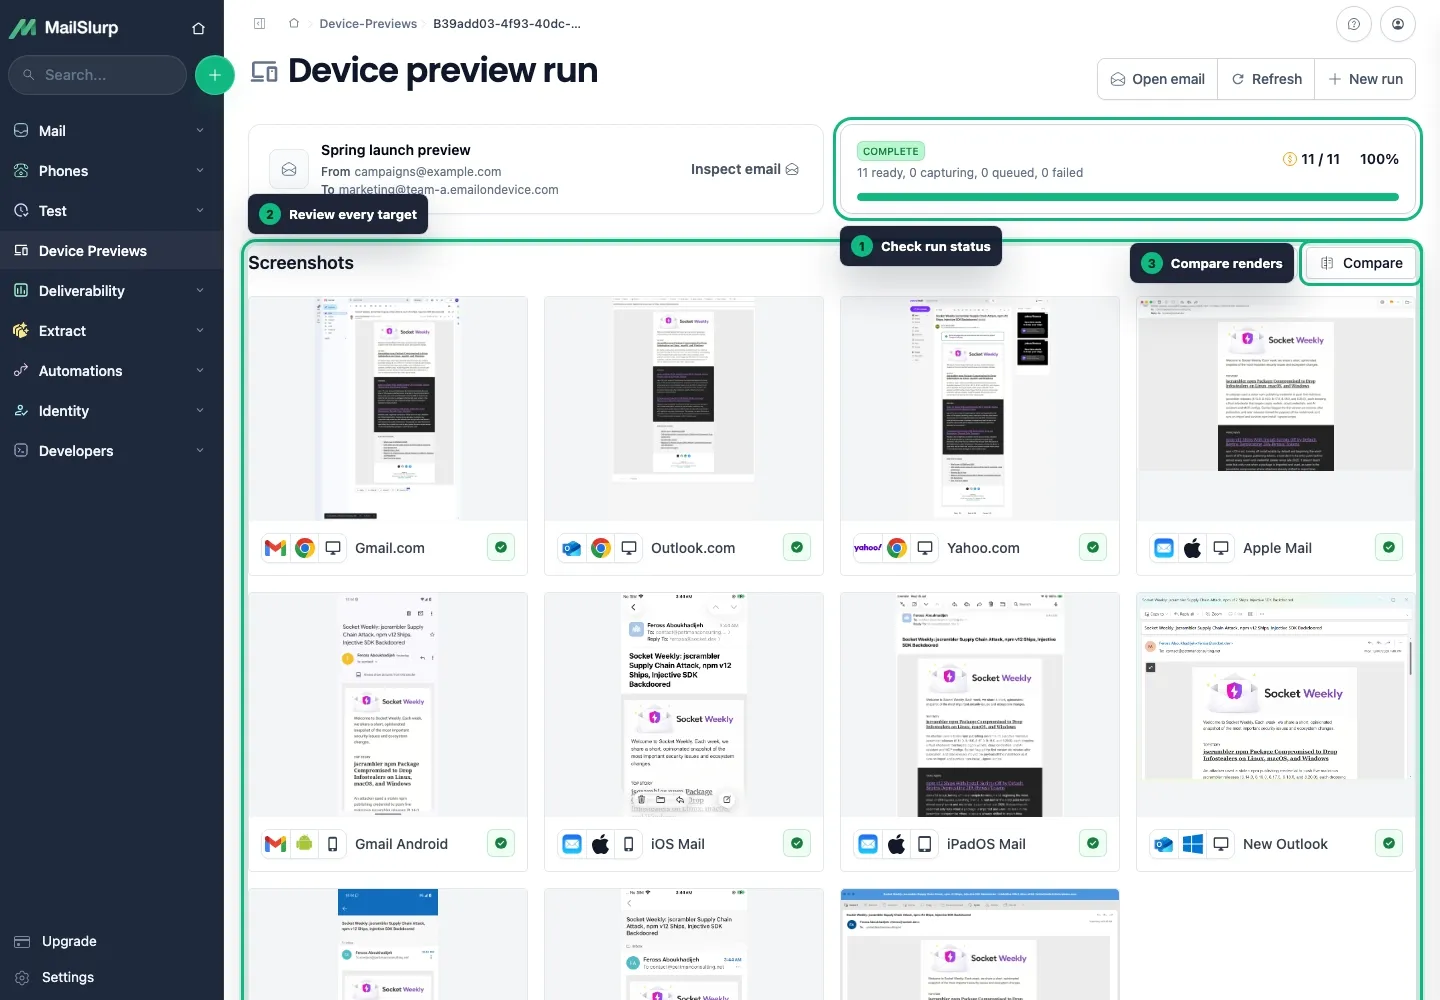 |
| Inbox placement testing (IPT) Send from your own email platform to a test recipient list, then see provider-by-provider inbox, promotions, or spam results. Check where the message lands alongside how it looks. | 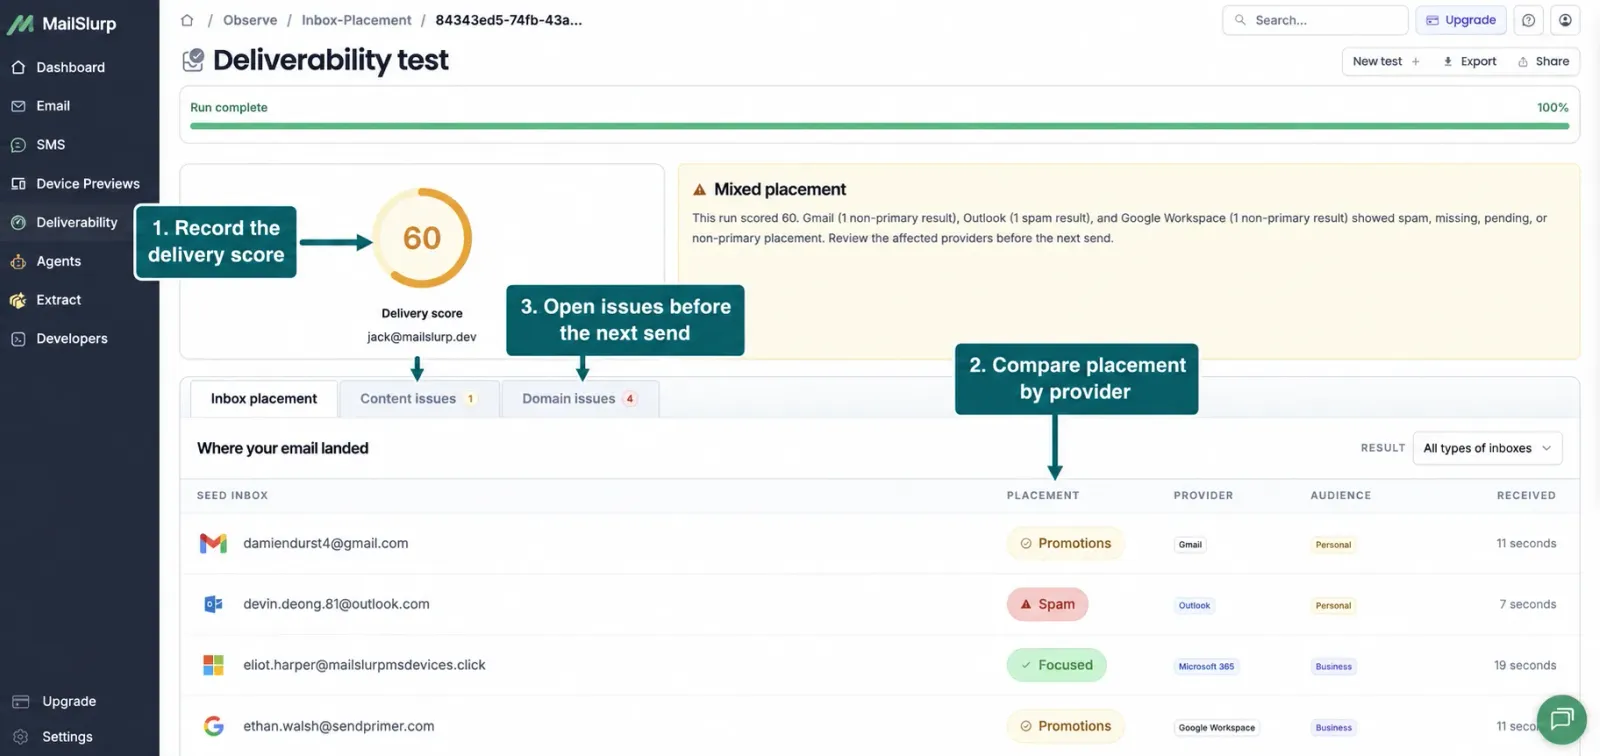 |
| Email Audit Find broken links, missing images, HTML issues, and email-client compatibility risks. Review the findings, fix your template, and check it again. | 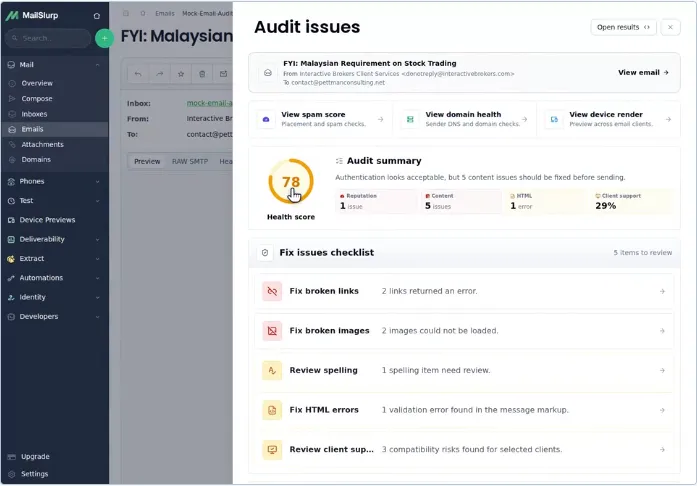 |
| Domain and campaign monitoring Track SPF, DKIM, DMARC, MX, and sender-domain changes over time. Add Campaign Probe to keep checking samples of your live campaign emails after launch. | 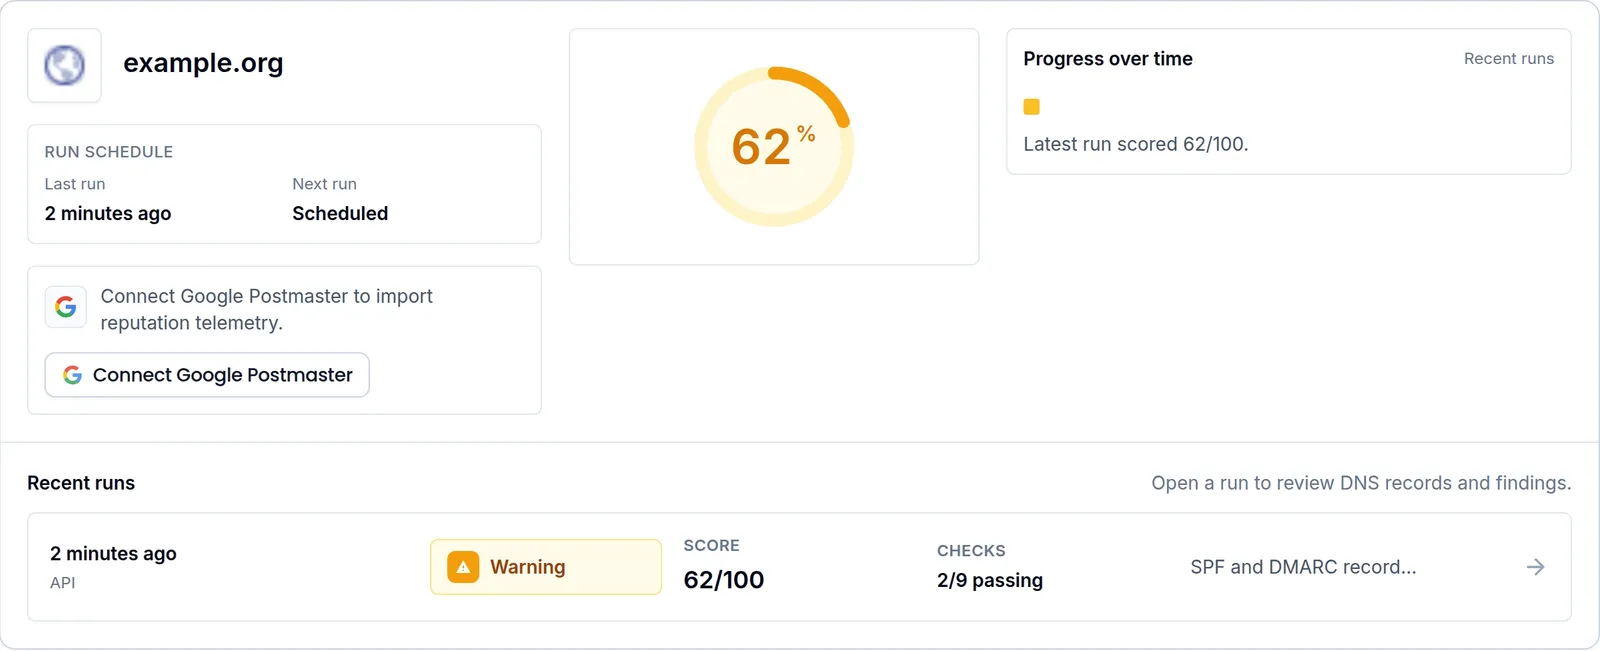 |
| Email and SMS for AI agents Give agents email addresses and phone numbers to send, receive, and act on messages. Connect your AI tools through MCP or use the SDKs, with conversations visible in MailSlurp. | 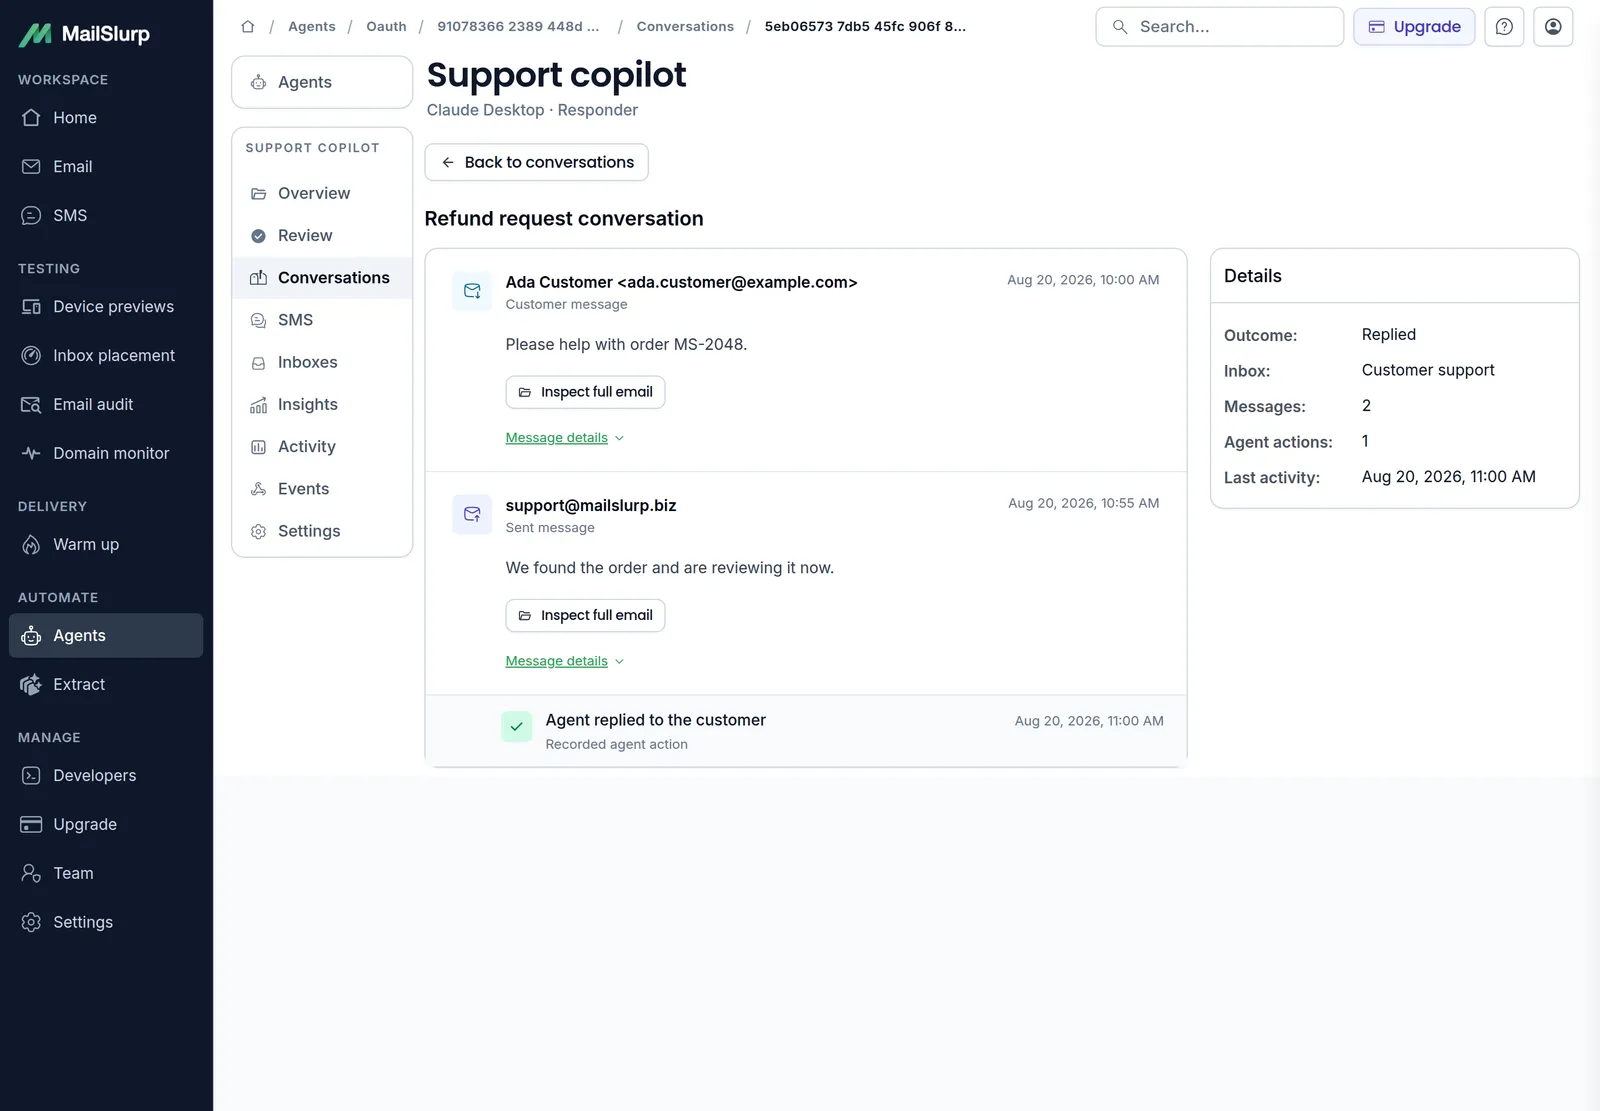 |
| AI data extraction Turn email, SMS, and attachment content into structured fields. Define the data you need, such as order numbers or invoice totals, then use the results in your application or spreadsheet. | 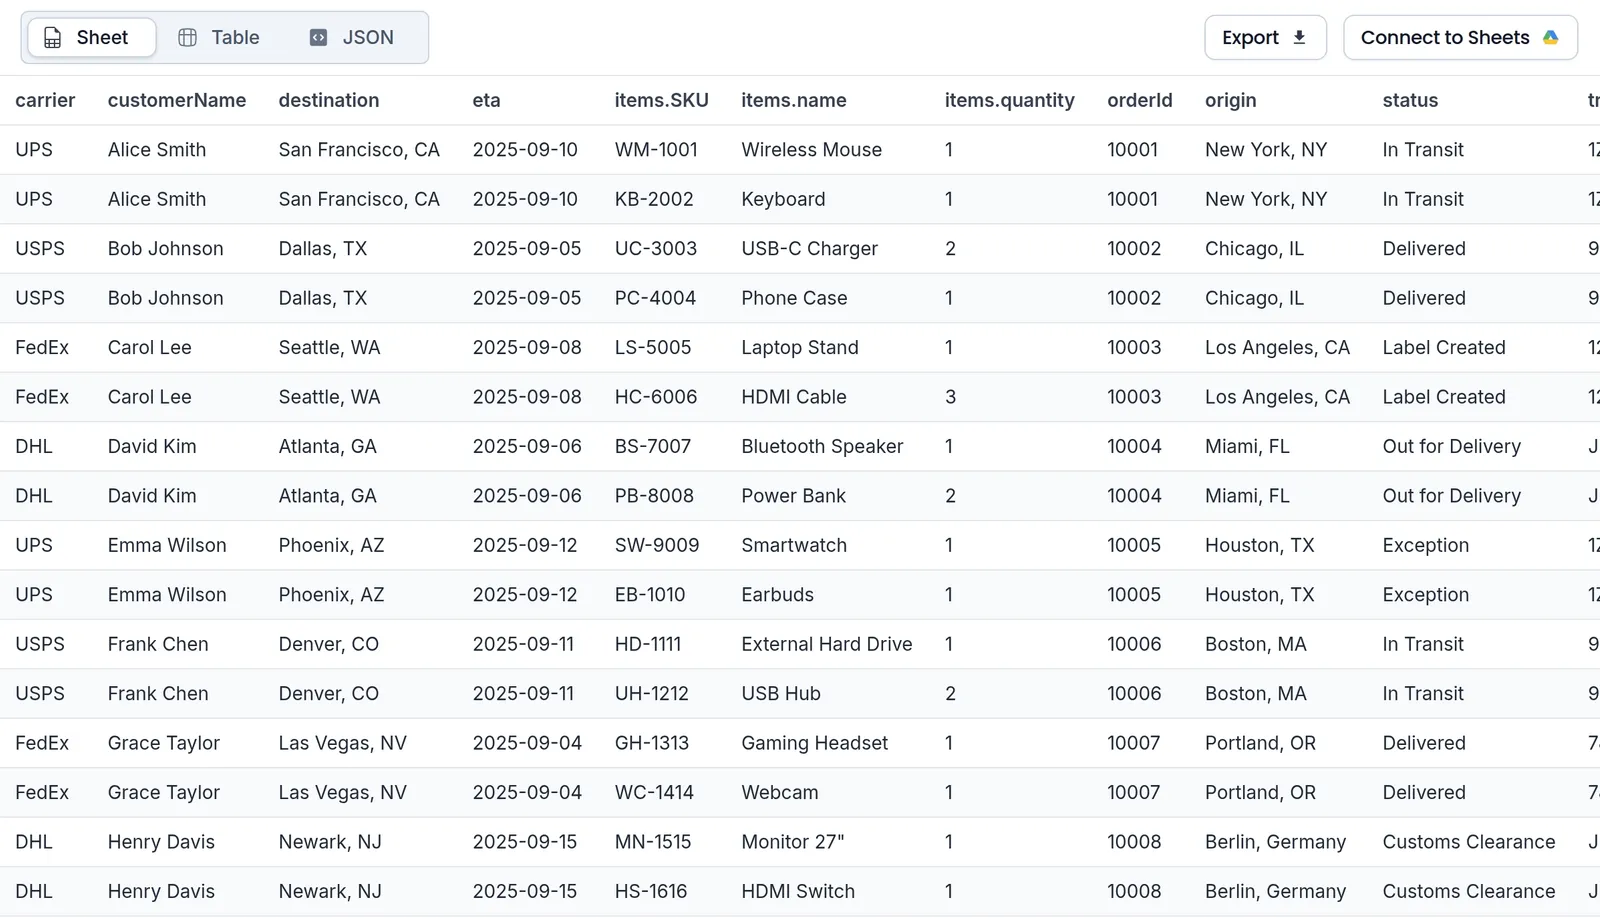 |
| Webhooks and message routing Notify your service when messages arrive, route email to another destination, or send automatic replies. Inspect webhook delivery events and HTTP responses when debugging your workflow. | 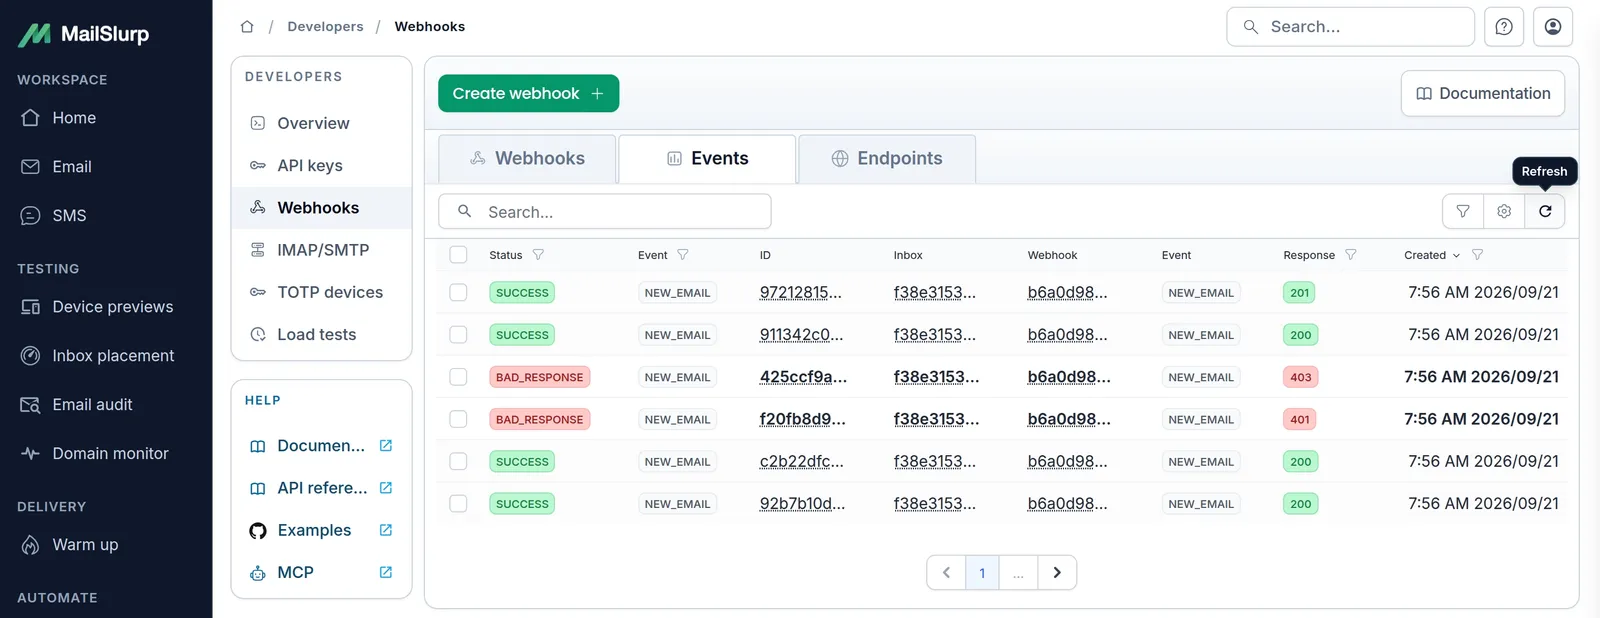 |
You can also connect an existing mailbox, validate email addresses, and organize shared resources with teams and permissions.
Prefer to explore without code? Create an account and open the dashboard. You can create an inbox, send it an email, and inspect the received message there. The same inbox is available through the API when you are ready to automate.
Quick start: send and receive your first email
Create an account and copy your API key from the dashboard. Set MAILSLURP_API_KEY in your terminal or secret manager. For a local shell:
export MAILSLURP_API_KEY="your-api-key"
Keep this key in server-side code, a local script, or your test runner. Do not put it in browser JavaScript or commit it to source control. See API authentication for details.
Choose a language below. Each example creates one real inbox, sends a message to its own address, waits up to 60 seconds for delivery, and prints the received subject. This checks your MailSlurp setup; to test your application, have the application send to the new address instead.
JavaScript / TypeScript
Install in your Node.js project:
npm install mailslurp-client
Configure and run. Save as quickstart.mjs and run node quickstart.mjs. The same code works in a server-side TypeScript project.
import { MailSlurp } from "mailslurp-client";

const apiKey = process.env.MAILSLURP_API_KEY;
if (!apiKey) throw new Error("Set MAILSLURP_API_KEY first");
const mailslurp = new MailSlurp({ apiKey });

const inbox = await mailslurp.createInbox();
console.log("Your inbox:", inbox.emailAddress);
await mailslurp.sendEmail(inbox.id, {
  to: [inbox.emailAddress],
  subject: "Hello MailSlurp",
  body: "Your first email is here.",
});
const email = await mailslurp.waitForLatestEmail(inbox.id, 60_000, true);
console.log(email.subject);
Continue with the JavaScript SDK or TypeScript SDK.
Python
Install in your Python environment:
python -m pip install mailslurp-client
Configure and run. Save as quickstart.py and run python quickstart.py.
import os
import mailslurp_client

config = mailslurp_client.Configuration()
config.api_key["x-api-key"] = os.environ["MAILSLURP_API_KEY"]

with mailslurp_client.ApiClient(config) as client:
    inboxes = mailslurp_client.InboxControllerApi(client)
    inbox = inboxes.create_inbox_with_defaults()
    print("Your inbox:", inbox.email_address)
    inboxes.send_email(inbox.id, mailslurp_client.SendEmailOptions(
        to=[inbox.email_address],
        subject="Hello MailSlurp",
        body="Your first email is here.",
    ))
    email = mailslurp_client.WaitForControllerApi(client).wait_for_latest_email(
        inbox_id=inbox.id, timeout=60_000, unread_only=True,
    )
    print(email.subject)
Continue with the Python SDK or Pytest guide.
Java
Install in your Maven project's pom.xml:
<dependency>
  <groupId>com.mailslurp</groupId>
  <artifactId>mailslurp-client-java</artifactId>
  <version>16.1.2</version>
</dependency>
Configure and run. Add this QuickStart class to your Java project and run its main method.
import com.mailslurp.apis.InboxControllerApi;
import com.mailslurp.apis.WaitForControllerApi;
import com.mailslurp.clients.Configuration;
import com.mailslurp.models.SendEmailOptions;
import java.util.List;
import java.util.Objects;

public class QuickStart {
  public static void main(String[] args) throws Exception {
    var client = Configuration.getDefaultApiClient();
    client.setApiKey(Objects.requireNonNull(
        System.getenv("MAILSLURP_API_KEY"), "Set MAILSLURP_API_KEY first"));
    client.setReadTimeout(70_000);

    var inboxes = new InboxControllerApi(client);
    var inbox = inboxes.createInboxWithDefaults().execute();
    System.out.println("Your inbox: " + inbox.getEmailAddress());
    inboxes.sendEmail(inbox.getId(), new SendEmailOptions()
        .to(List.of(inbox.getEmailAddress()))
        .subject("Hello MailSlurp")
        .body("Your first email is here.")).execute();
    var email = new WaitForControllerApi(client).waitForLatestEmail()
        .inboxId(inbox.getId()).timeout(60_000L).unreadOnly(true).execute();
    System.out.println(email.getSubject());
  }
}
Continue with the Java SDK or JUnit guide.
C#
Install in a .NET console project:
dotnet add package mailslurp
Configure and run. Use this as Program.cs and run dotnet run.
using System;
using mailslurp.Api;
using mailslurp.Client;
using mailslurp.Model;

var apiKey = Environment.GetEnvironmentVariable("MAILSLURP_API_KEY")
    ?? throw new InvalidOperationException("Set MAILSLURP_API_KEY first");
var config = new Configuration();
config.ApiKey.Add("x-api-key", apiKey);

var inboxes = new InboxControllerApi(config);
var inbox = inboxes.CreateInbox();
Console.WriteLine("Your inbox: " + inbox.EmailAddress);
inboxes.SendEmail(inbox.Id, new SendEmailOptions(
    to: new System.Collections.Generic.List<string> { inbox.EmailAddress },
    subject: "Hello MailSlurp",
    body: "Your first email is here."
));
var email = new WaitForControllerApi(config)
    .WaitForLatestEmail(inbox.Id, 60_000, true);
Console.WriteLine(email.Subject);
Continue with the C# SDK.
Go
Install in a Go module:
go get github.com/mailslurp/mailslurp-client-go
go get github.com/antihax/optional
Configure and run. Save as main.go and run go run ..
package main

import (
    "context"
    "fmt"
    "os"
    "github.com/antihax/optional"
    mailslurp "github.com/mailslurp/mailslurp-client-go"
)

func main() {
    apiKey := os.Getenv("MAILSLURP_API_KEY")
    if apiKey == "" { panic("Set MAILSLURP_API_KEY first") }
    ctx := context.WithValue(context.Background(), mailslurp.ContextAPIKey,
        mailslurp.APIKey{Key: apiKey})
    client := mailslurp.NewAPIClient(mailslurp.NewConfiguration())

    inbox, _, err := client.InboxControllerApi.CreateInbox(ctx, nil)
    if err != nil { panic(err) }
    fmt.Println("Your inbox:", inbox.EmailAddress)
    recipients := []string{inbox.EmailAddress}
    subject, body := "Hello MailSlurp", "Your first email is here."
    _, err = client.InboxControllerApi.SendEmail(ctx, inbox.Id, mailslurp.SendEmailOptions{
        To: &recipients, Subject: &subject, Body: &body,
    })
    if err != nil { panic(err) }
    email, _, err := client.WaitForControllerApi.WaitForLatestEmail(ctx,
        &mailslurp.WaitForLatestEmailOpts{
            InboxId: optional.NewInterface(inbox.Id),
            Timeout: optional.NewInt64(60000), UnreadOnly: optional.NewBool(true),
        })
    if err != nil { panic(err) }
    if email.Subject != nil { fmt.Println(*email.Subject) }
}
Continue with the Go SDK.
PHP
Install with Composer:
composer require mailslurp/mailslurp-client-php
Configure and run. Save beside vendor/ as quickstart.php and run php quickstart.php.
<?php
require __DIR__ . '/vendor/autoload.php';

$apiKey = getenv('MAILSLURP_API_KEY');
if (!$apiKey) throw new RuntimeException('Set MAILSLURP_API_KEY first');
$config = MailSlurp\Configuration::getDefaultConfiguration()
    ->setApiKey('x-api-key', $apiKey);
$inboxes = new MailSlurp\Apis\InboxControllerApi(null, $config);

$inbox = $inboxes->createInboxWithDefaults();
echo 'Your inbox: ' . $inbox->getEmailAddress() . PHP_EOL;
$inboxes->sendEmail($inbox->getId(), new MailSlurp\Models\SendEmailOptions([
    'to' => [$inbox->getEmailAddress()],
    'subject' => 'Hello MailSlurp',
    'body' => 'Your first email is here.',
]));
$wait = new MailSlurp\Apis\WaitForControllerApi(null, $config);
$email = $wait->waitForLatestEmail($inbox->getId(), 60000, true);
echo $email->getSubject() . PHP_EOL;
Continue with the PHP SDK.
Ruby
Install the gem:
gem install mailslurp_client typhoeus
Configure and run. Save as quickstart.rb and run ruby quickstart.rb.
require 'mailslurp_client'

MailSlurpClient.configure do |config|
  config.api_key['x-api-key'] = ENV.fetch('MAILSLURP_API_KEY')
end
inboxes = MailSlurpClient::InboxControllerApi.new

inbox = inboxes.create_inbox_with_defaults
puts "Your inbox: #{inbox.email_address}"
inboxes.send_email(inbox.id, MailSlurpClient::SendEmailOptions.new(
  to: [inbox.email_address],
  subject: 'Hello MailSlurp',
  body: 'Your first email is here.'
))
email = MailSlurpClient::WaitForControllerApi.new.wait_for_latest_email(
  inbox_id: inbox.id, timeout: 60_000, unread_only: true
)
puts email.subject
Continue with the Ruby SDK.
You should see your inbox address followed by Hello MailSlurp. Open that inbox in the dashboard to inspect the message. This example sends one email and leaves the inbox available for you to explore; delete it when finished. Sending availability and usage follow your account's plan and limits.
Info: Next steps in code. Find other languages in the SDK directory, use the REST API reference, or turn this example into an application test. If a wait times out, check that the send succeeded and that you are waiting on the receiving inbox; the wait guide explains timeouts and message matching.
Key concepts
| Concept | What it means |
|---|---|
| Inbox | A real email address plus an inbox ID. Give the address to an application or sender; use the ID in API calls. Inbox guide. |
| A received message with its own ID, subject, body, sender, recipients, and attachments. Read and inspect email. | |
| Phone number and SMS | A provisioned phone number receives text messages. Phone IDs and SMS IDs are separate from inbox and email IDs. SMS guide. |
| Wait methods | Bounded requests that return when the expected email or SMS arrives. They replace fixed sleeps in tests. Waiting and matching. |
| Quality checks and results | Device preview runs show how an email renders; placement tests show where it lands; audits flag content issues. These are separate results, so combine the checks your workflow needs. Email quality guides. |
| Events and webhooks | Notifications to your server when something happens, such as a new email or SMS. Use them for ongoing automations. Webhook guide. |
Choose your next step
- Test your application: follow the testing guide for isolation, codes, links, assertions, and CI.
- Check an email before sending a campaign: start with device previews and inbox placement. Appearance and delivery placement are separate checks.
- Build an incoming-message workflow: connect webhooks to your service, then add AI extraction or agent access.
- Set up a team: use team accounts for shared access, then add roles and permissions and environments.
Browse runnable example projects when you want a complete project to adapt.